Chocolate Chip Cherry Granola Bars
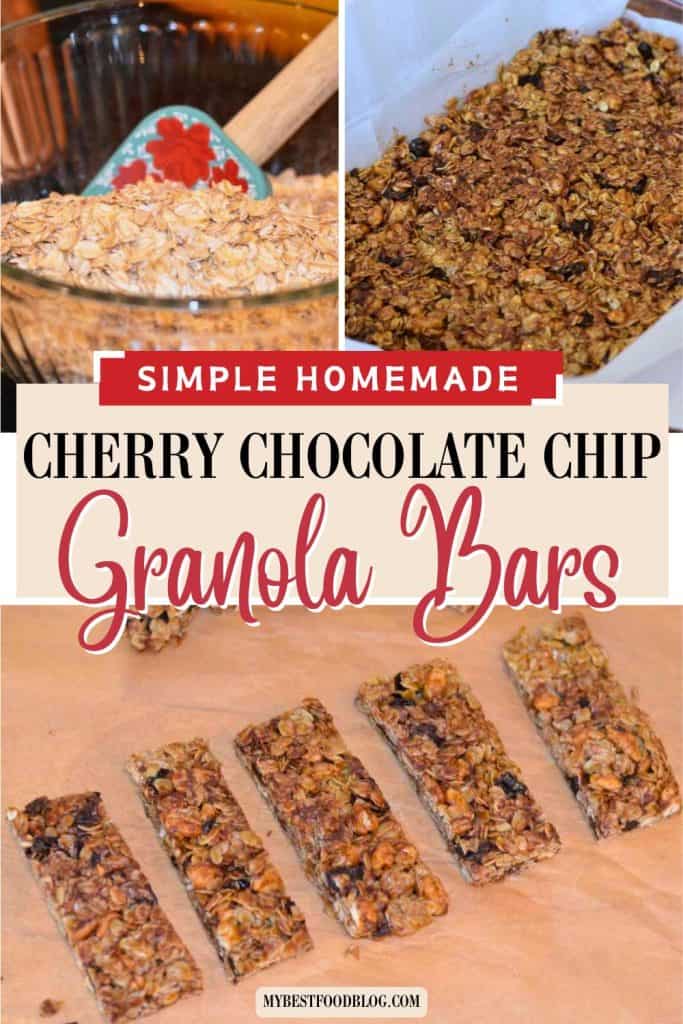
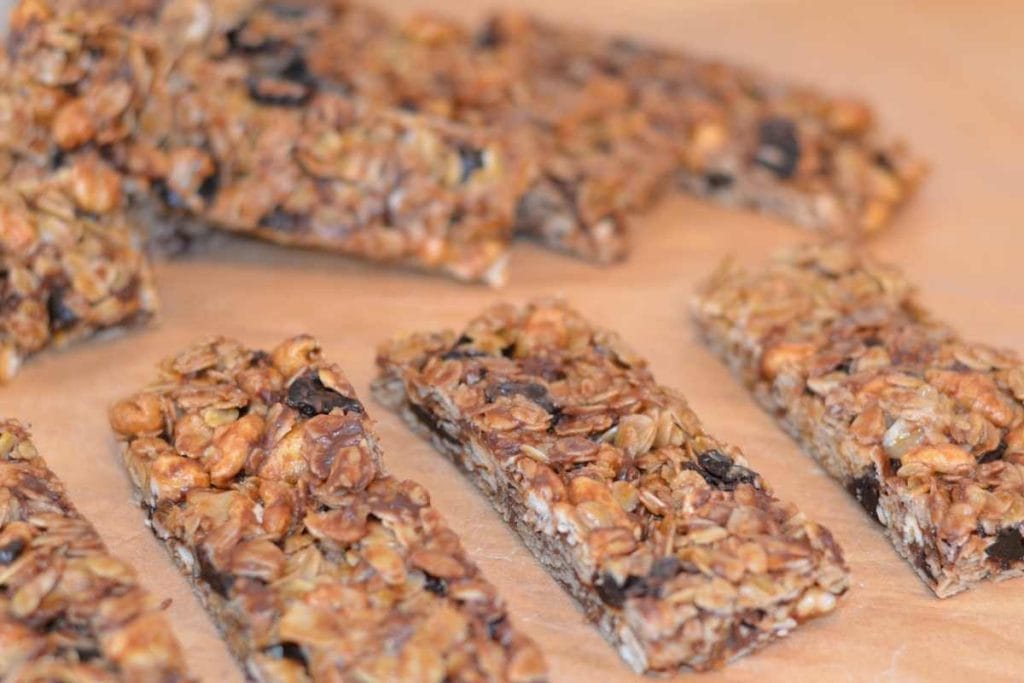
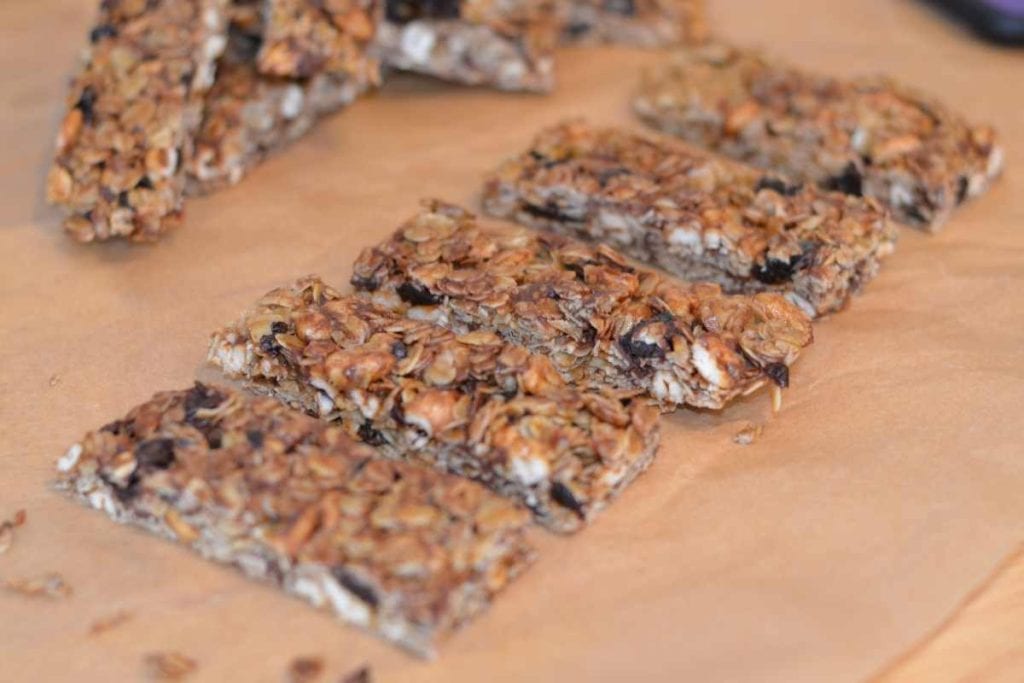
My Chocolate Chip Cherry Granola Bars are the ultimate snack-time hero. Packed with chewy oats, sweet cherries, and rich chocolate chips, these bars are easy to whip up and perfect for busy families who need grab-and-go fuel that actually tastes amazing. We make them every single week at our house!
Want to save this recipe for another time?
As a busy mom, I’ve tested more snack recipes than I can count. But these? These granola bars are the ones my kids cheer for, my husband sneaks from the fridge, and I happily snack on between errands. This is a tried and true recipe that I must have made at least 100 times now. We have these bars every week!
They’re homemade, wholesome, and just the right balance of indulgent and nutritious. And I actually like the taste so much more than the store-bought granola bars! Plus, I really like knowing exactly what ingredients are in my snack bars without all the crazy additions that you get from boxed granola bars.
If you’re looking for more snack ideas or kid-friendly recipes, check out my No-Bake S’mores Mix, my awesome Banana Bread, and best of all, my homemade Pop-Tarts!
Why You’ll Love This Recipe
- Simple ingredients, easy recipe – All the ingredients are pantry staples and available at any grocery store. Nothing fancy, just delicious!
- Quick and easy – These bars come together in under 30 minutes!
- Perfectly chewy texture – The combination of honey, brown sugar, and butter makes for that ideal chewy-but-not-sticky consistency.
- Kid-approved – These are a lunchbox win and after-school snack favorite.
- Freezer-friendly – Make a double batch and freeze some for later!
Recommended Equipment
This post contains affiliate links. If you purchase something from those links, I may make a small commission. See our full Disclosure and Disclaimer Policy here.
- 9×13 baking casserole dish – I have this dish, and I adore it because it comes with the lid that fits it. No more fooling with aluminum foil or plastic wrap! Plus, it keeps the smells of your dish inside the dish and not in your refrigerator, as foil and plastic wrap do!
- Flat Whisk – I adore this OXO Good Grips Flat Whisk. If I couldn’t have anything else in the kitchen, THIS is the gadget I’d keep. It’s the best whisk I’ve ever had, and the flat part of the design is such a game-changer for making things in the pan! I could not recommend this more! This is the only brand I’ve ever had, and I’m a big fan of all the OXO products.
- Parchment Paper Sheets – This is parchment paper that’s already cut for you! And it is the size of a half baking sheet pan, which is absolutely perfect!
- Airtight Food Storage Containers – These are fantastic. They keep food air-tight and fresh so well!
Ingredients
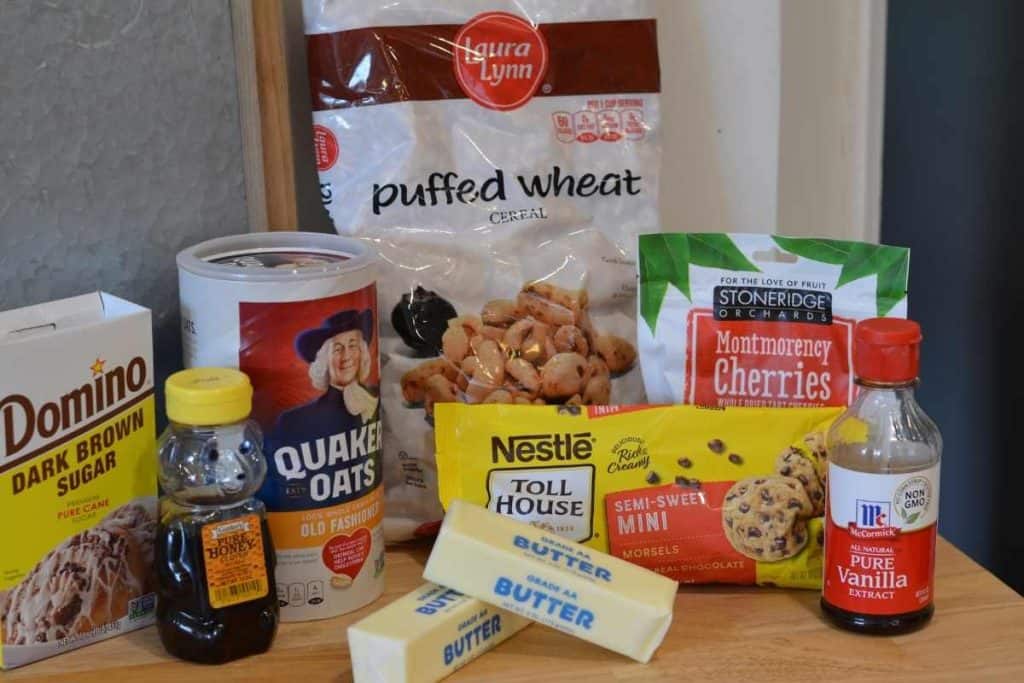
- Rolled oats – The hearty base of the bars, giving them that classic granola chew.
- Puffed wheat – Adds a light, airy crunch and balances the density of the oats.
- Chocolate chips – Semi-sweet chocolate chips or dark both work well here, bringing in that chocolatey goodness. If you like bigger pieces of chocolate, semisweet chocolate chunks are great in these bars, too!
- Dried cherries – Tart and sweet, dried cherries pair perfectly with the chocolate for a cherry chocolate granola combo.
- Butter – Acts as the base of the binder and adds richness.
- Brown sugar – Deepens the flavor and helps hold everything together.
- Honey – Natural sweetness and helps bind the mixture.
- Vanilla extract – Rounds out all the flavors.
- Salt – Just a pinch brings out the sweetness and balances the whole bar. I just use my kosher salt that I use for everything else in the kitchen.
Substitutions, Modifications, and Additions
You can change up these cherry chocolate granola bars in so many fun and delicious ways! There are endless possibilities for an awesome flavor combination.
Substitutions
- Maple syrup for honey – If you prefer a different sweetener, maple syrup works great. So does agave syrup.
- Dried cranberries or raisins for cherries – Any dried fruit you love will work!
- Dark Chocolate Chips – Dark chocolate chips are delicious in these bars as well. Some people prefer the flavor of dark chocolate chips, and that’s perfect for these bars.
Modifications
- Gluten-Free – Use certified gluten-free oats and substitute puffed rice or another gluten-free cereal in place of the puffed wheat, and you’ve got yourself a homemade gluten-free granola bar!
- Dairy-Free – Swap the butter for coconut oil or a plant-based butter alternative, and use dairy-free chocolate chips.
Additions
- Chopped nuts – Almonds, pecans, or walnuts add a nice crunch. Sunflower seeds are delicious, too!
- Shredded coconut – For a tropical twist and extra texture.
- Peanut Butter – Add in a half cup of peanut butter and cut back on the brown sugar in the sauce mixture for some delicious peanut butter granola bars.
- Almond Butter – Almond butter works the same as the peanut butter, just add some to the brown sugar sauce mixture and get a whole new layer of delicious flavor to the granola bars!
Variations
The sky truly is the limit on these bars. You can mix and match to your heart’s content! Right now my favorite version of these bars is cherry coconut pecan! SO delish! Look at this list for some additional flavor variation ideas!
Step-by-Step Instructions
Prep
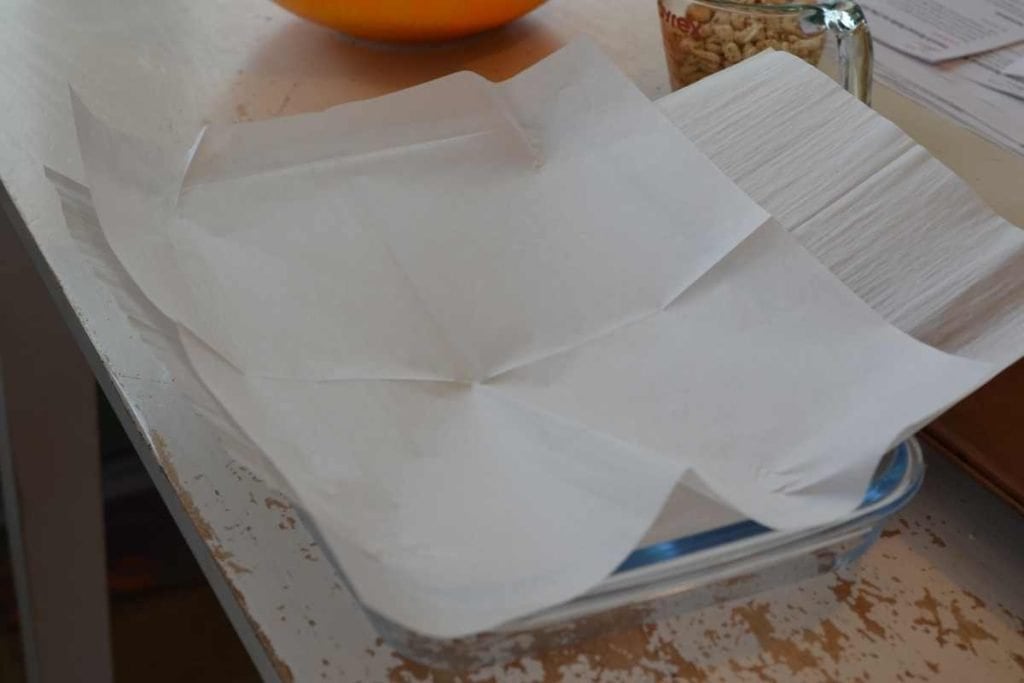
Prepare your 9×13 baking dish. For no sticking at all, I like to spray the dish with cooking spray, then lay down the parchment paper, then spray the parchment paper again with cooking spray. Nothing sticks at all if you take this first step in preparation! You need a prepared pan ahead of time so that you are ready when you have a hot granola mixture.
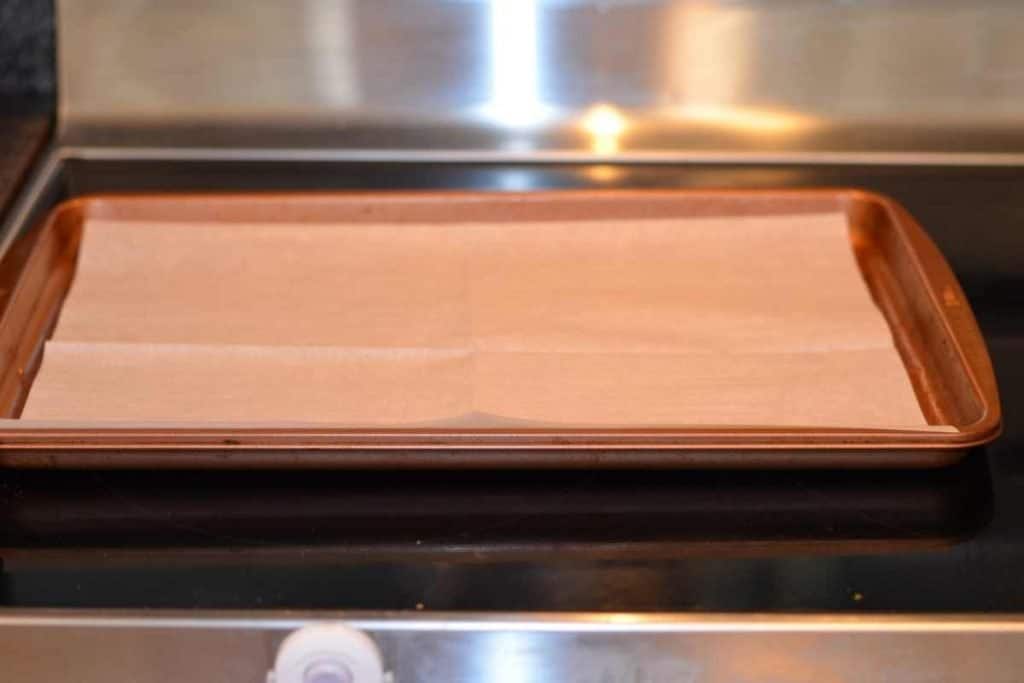
Prep: Additionally, prep a baking sheet with parchment paper as well.
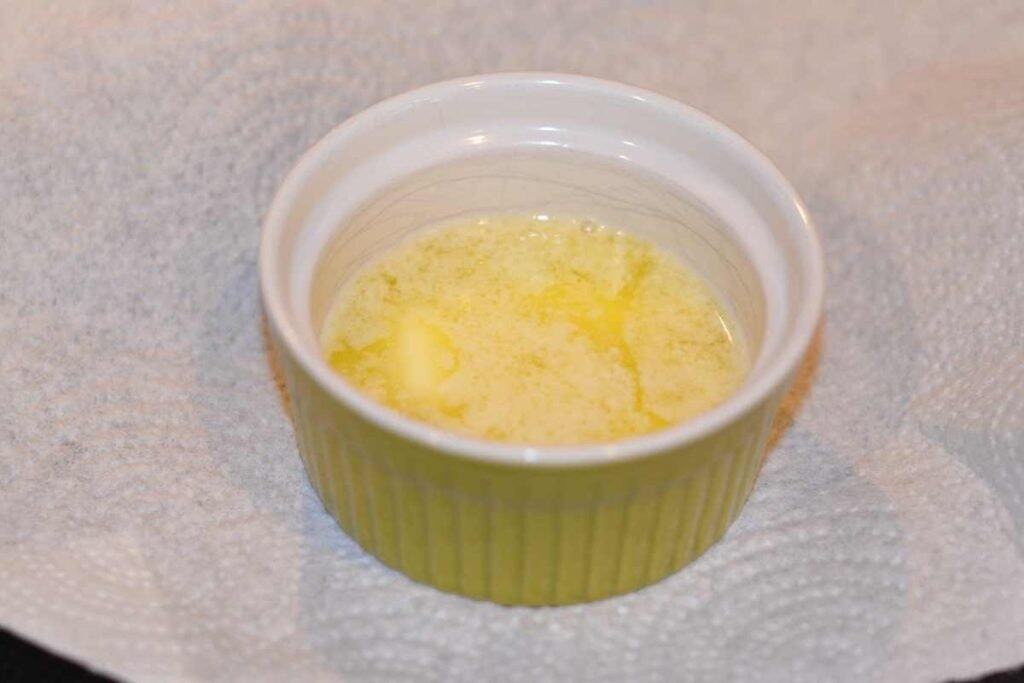
Melt
Melt 2 tablespoons of butter.
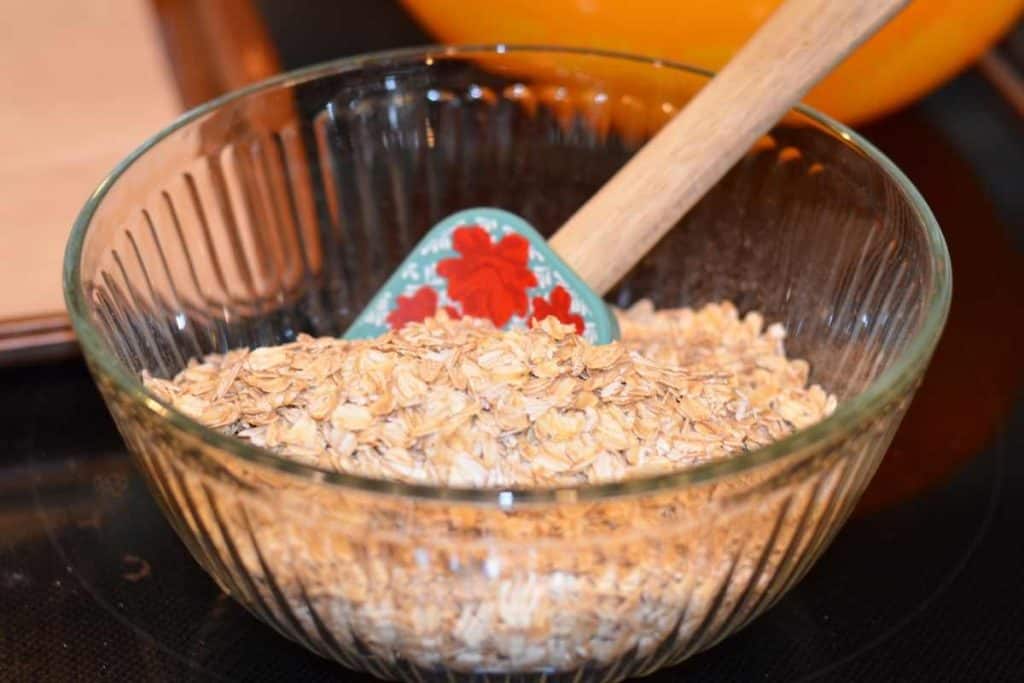
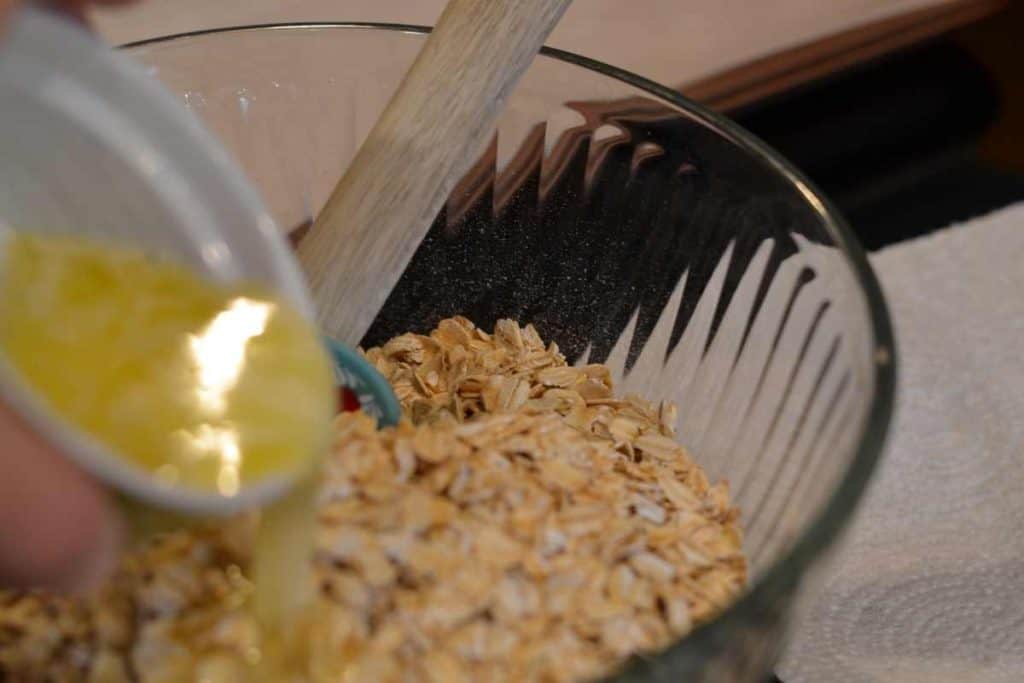
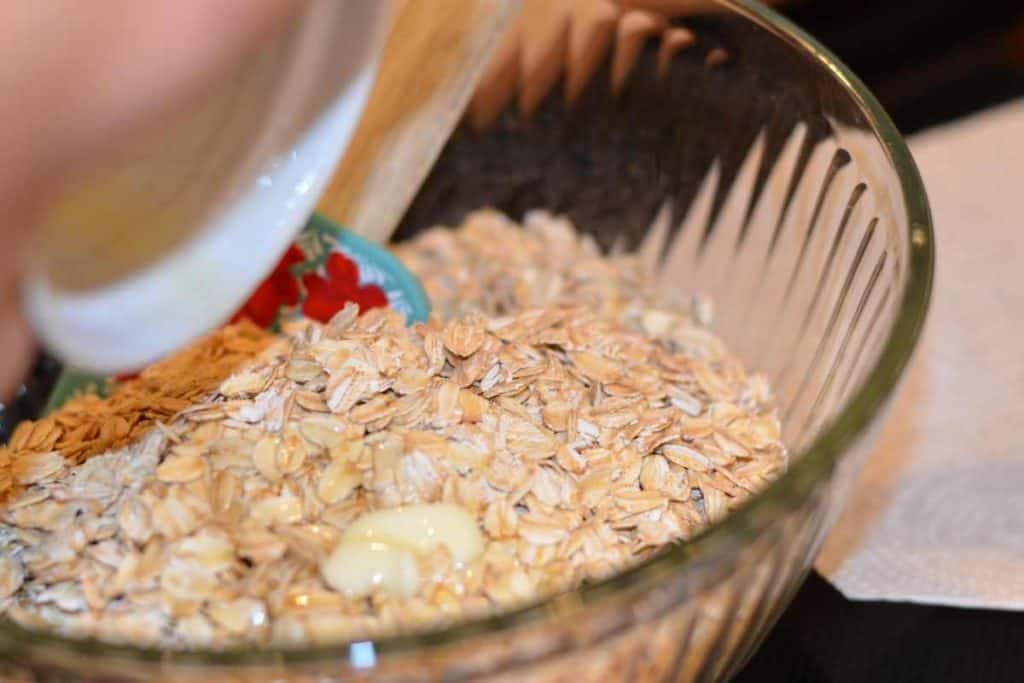
Pour
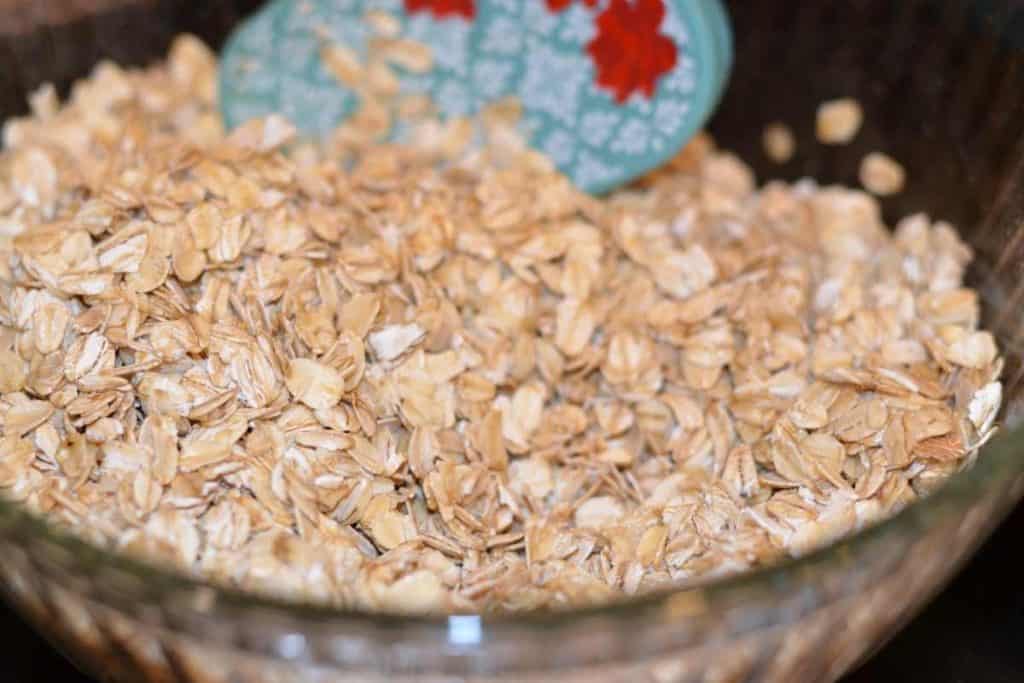
Once melted, pour the butter over a bowl of your oatmeal and stir to coat the oatmeal in butter.
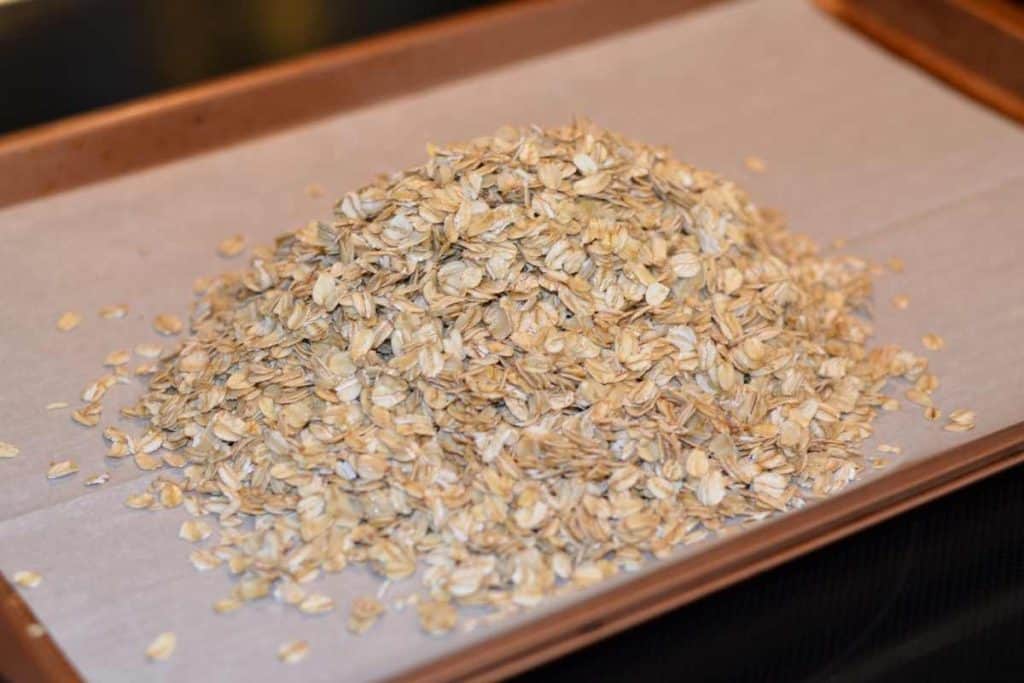
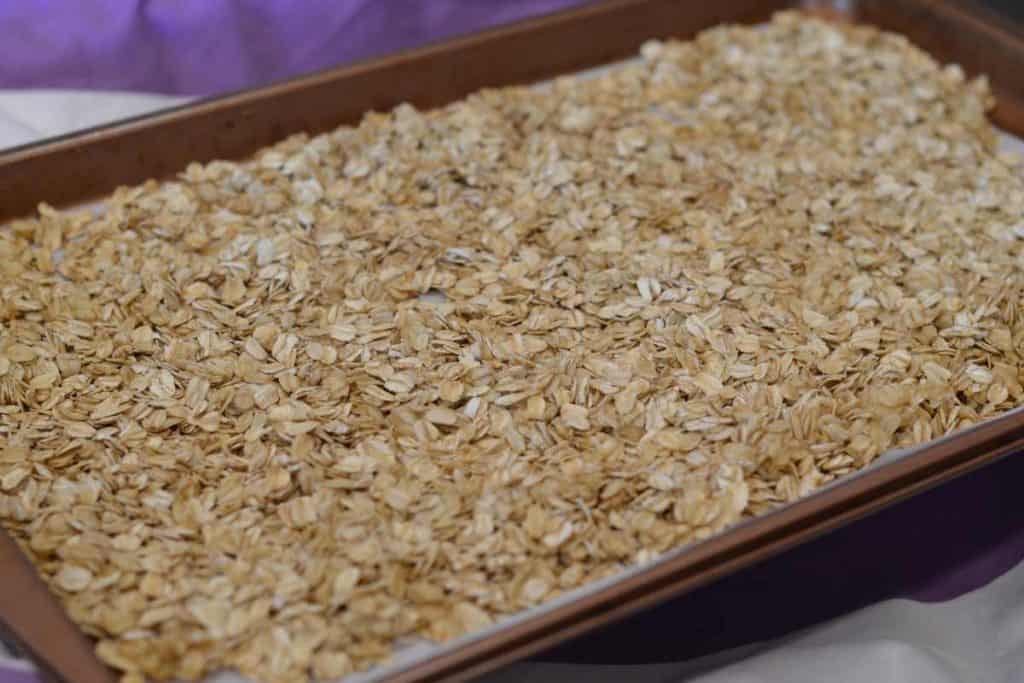
Pour: Pour the butter-coated oats onto your parchment-lined baking sheet and spread the oatmeal mixture loosely across the pan, and flatten it out so it gets evenly toasted.
Bake/Toast
Bake the oats in the oven for 18-20 minutes to toast them. This adds a layer of flavor to your granola bars!
Remove
Remove oats from oven and let cool for 5 minutes.
Pour
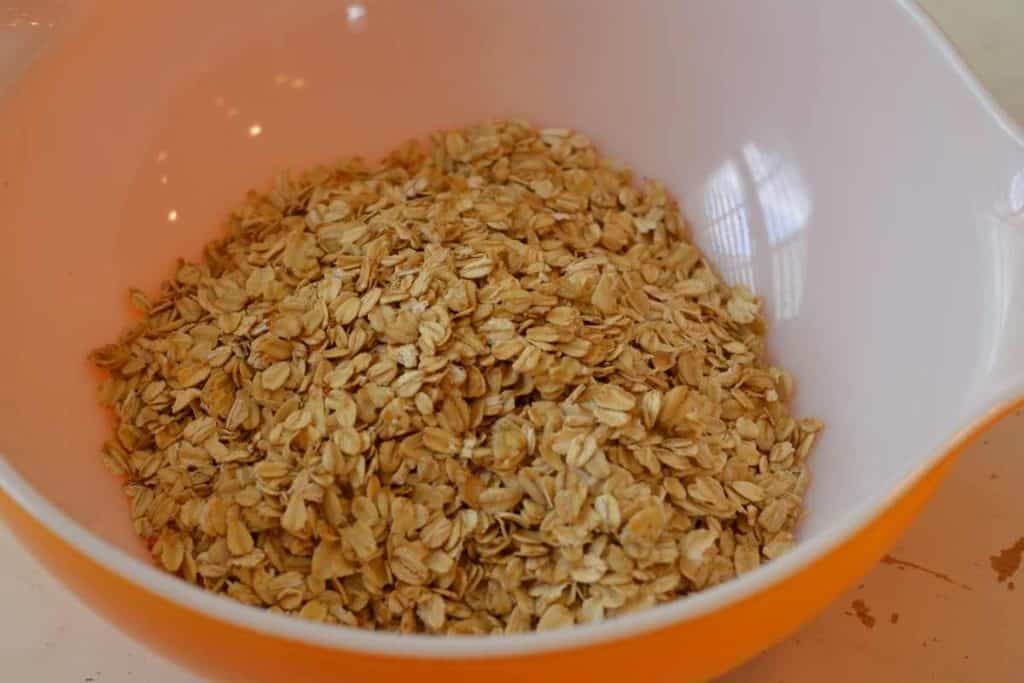
Put the oat mixture in a large mixing bowl.
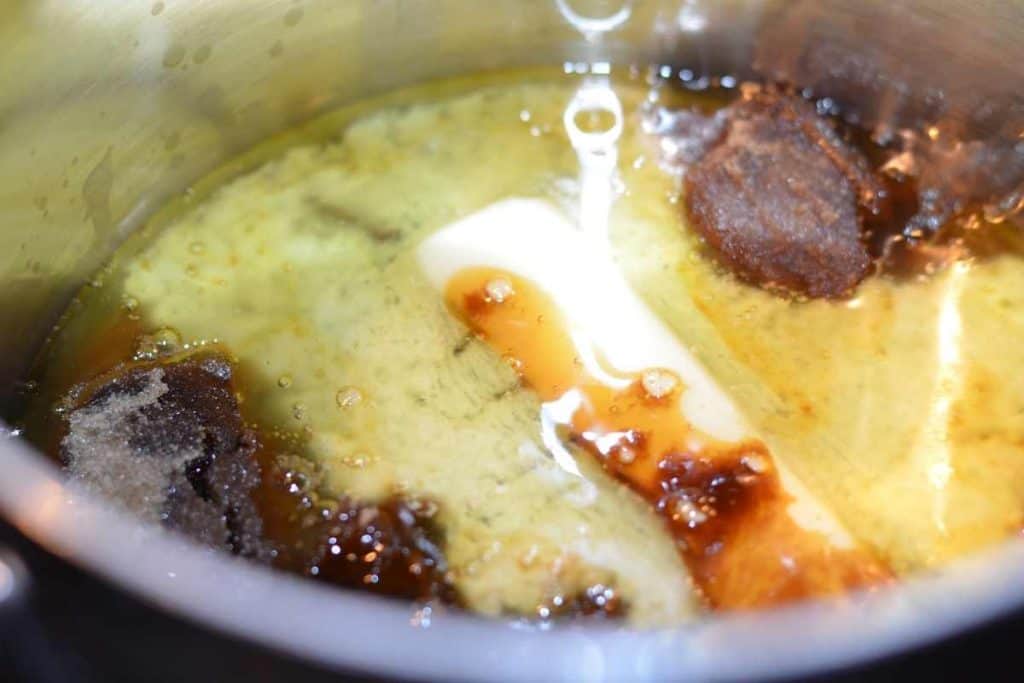
Mix
In a saucepan over medium heat, combine the wet ingredients: butter, brown sugar, honey, vanilla, and salt. Stir occasionally and bring to a boil.
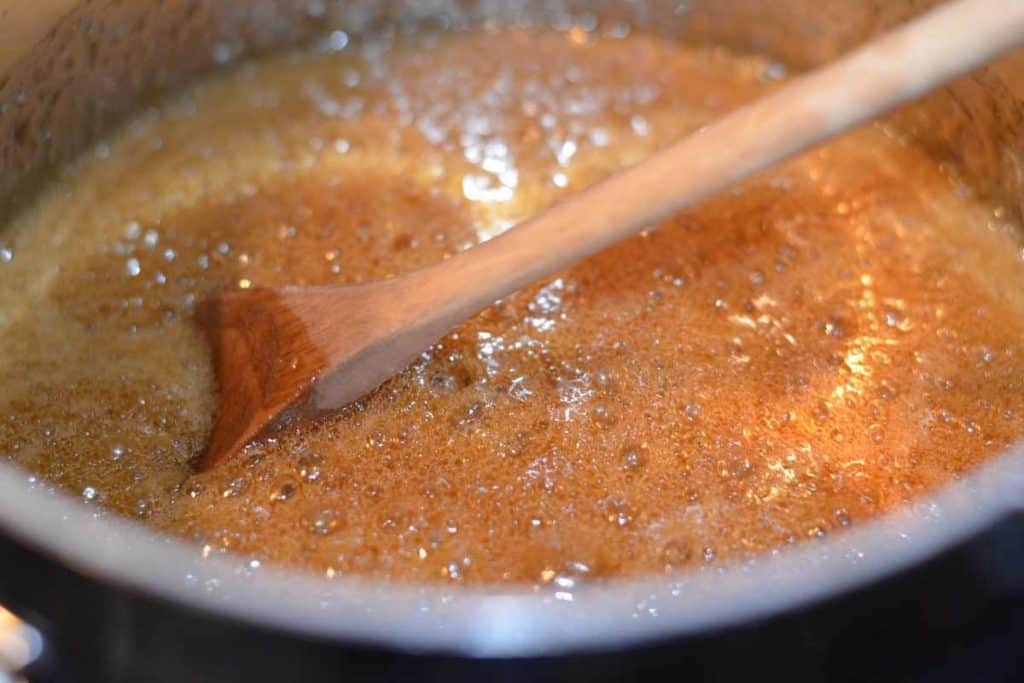
Boil
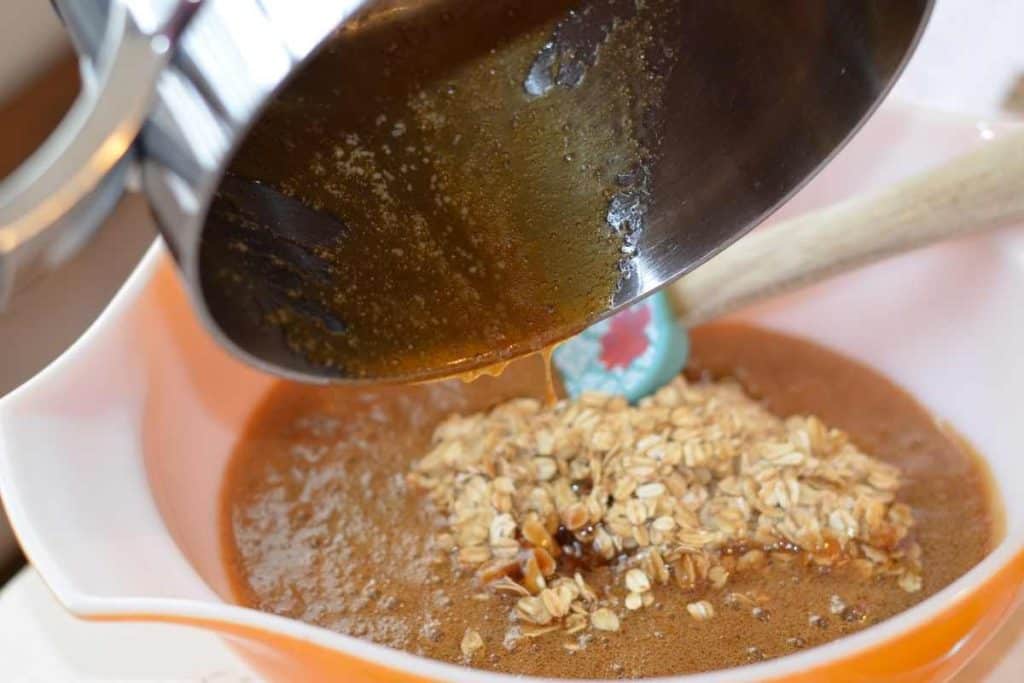
Once boiling, let it cook for 30 seconds while stirring gently the whole time. It will be bubbly and foamy.
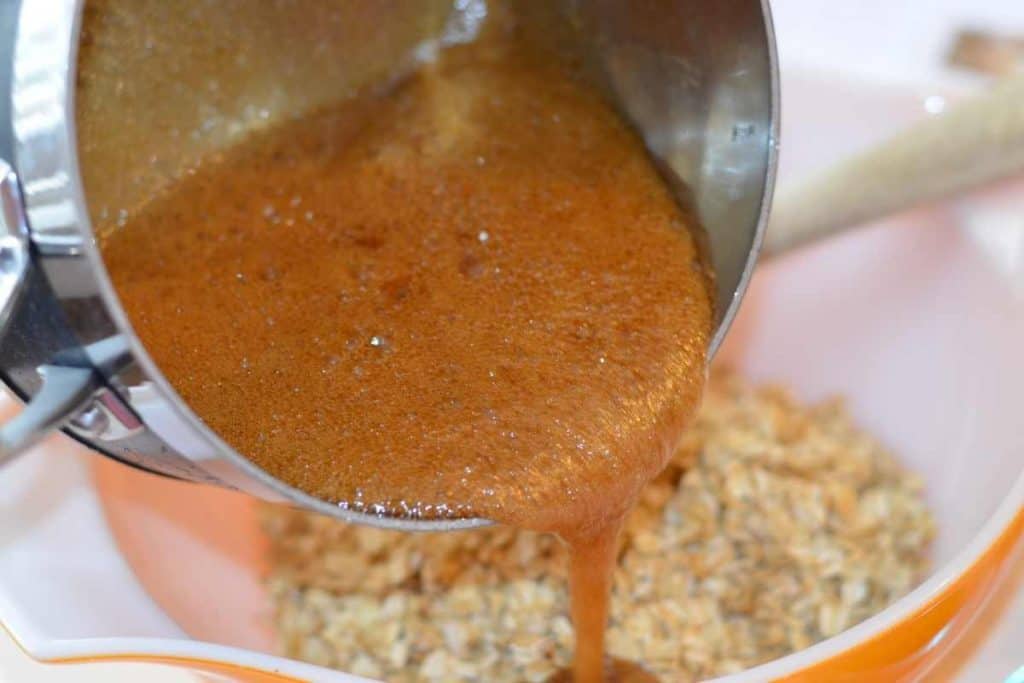
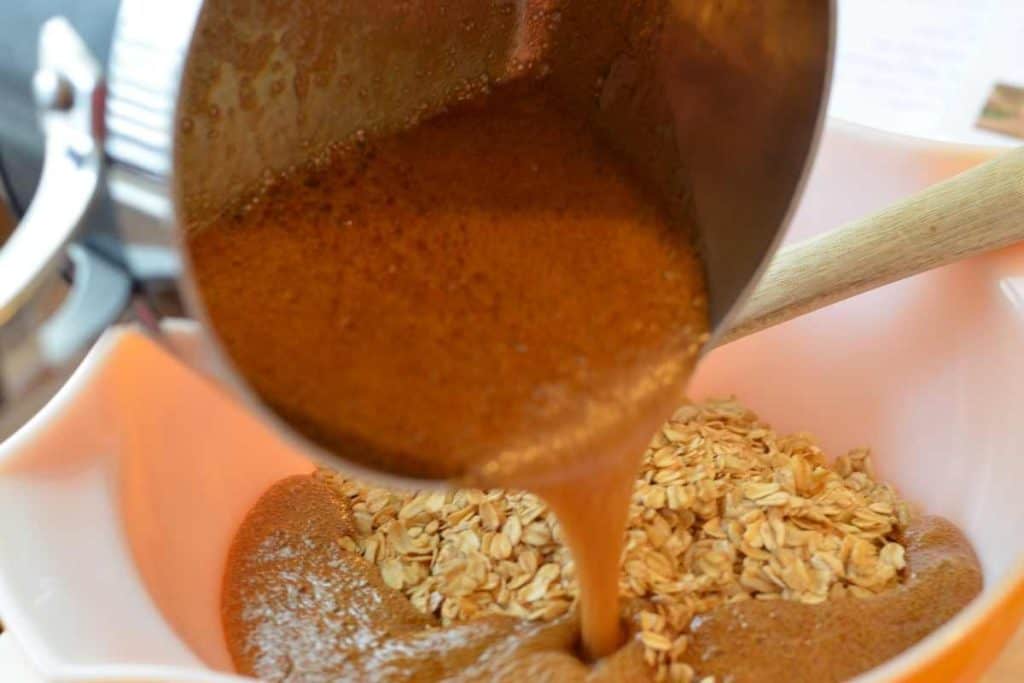
Pour
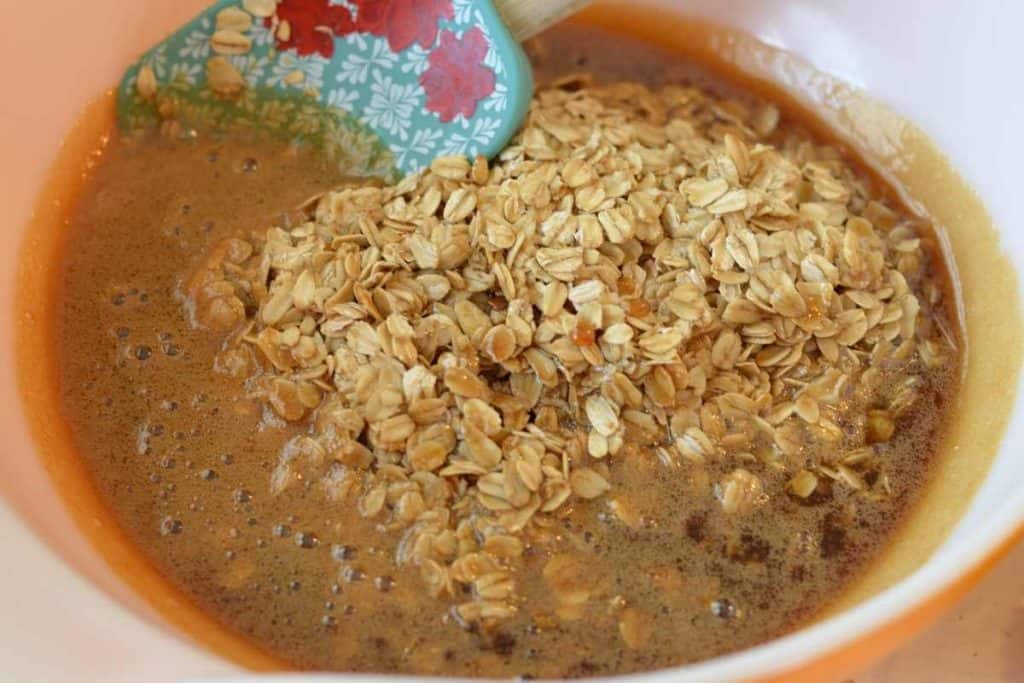
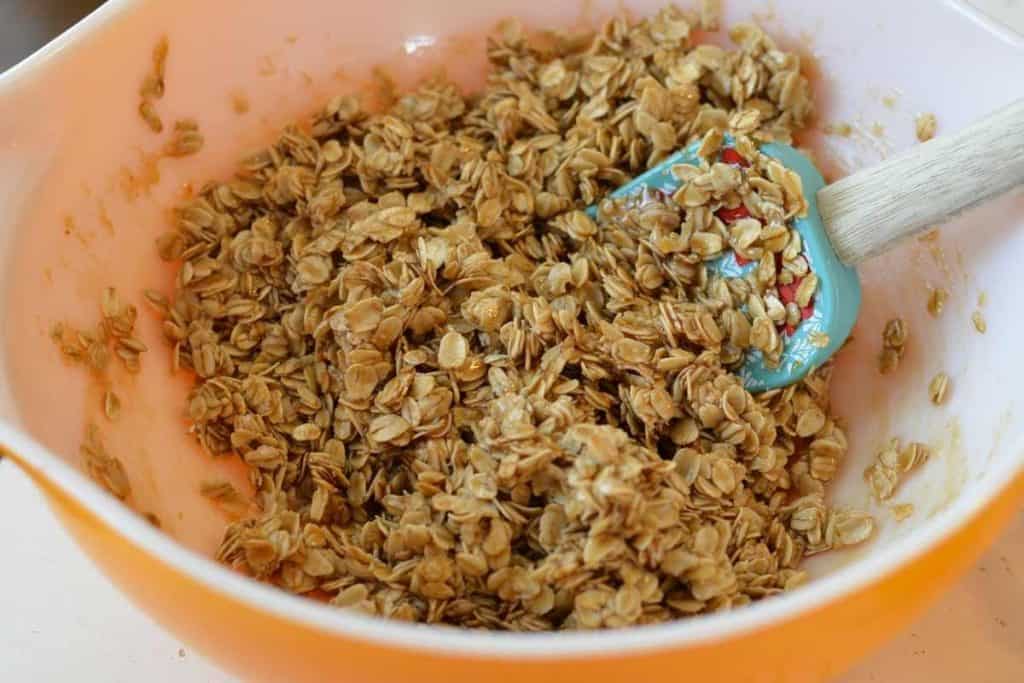
Pour the hot mixture over the oatmeal in the large bowl and stir everything together until evenly coated. Let that mixture cool for 3-4 minutes.
Add
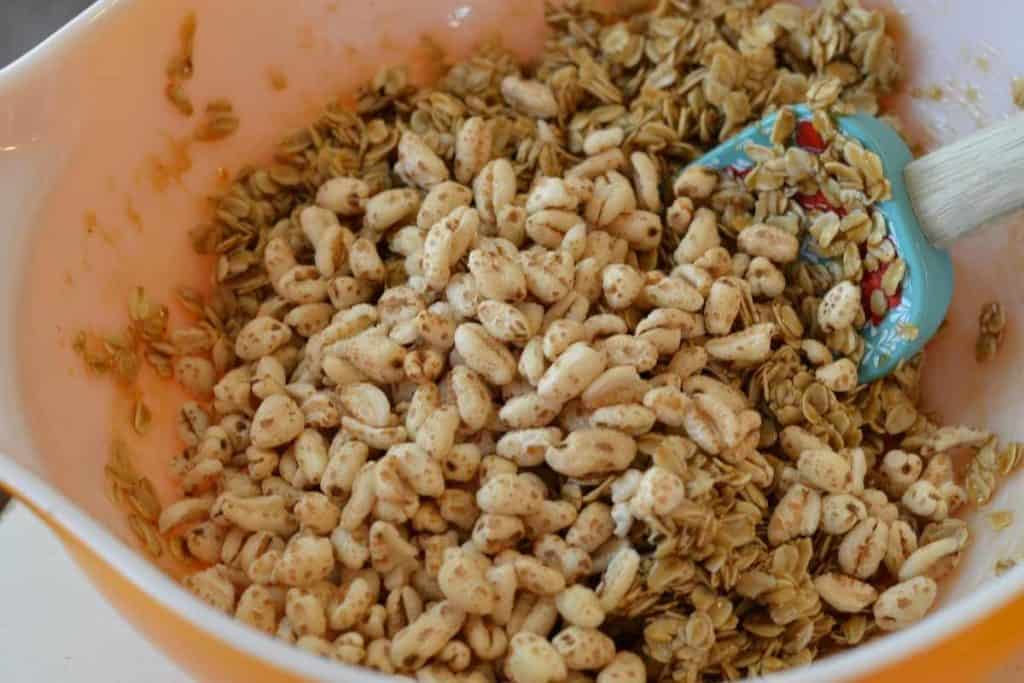
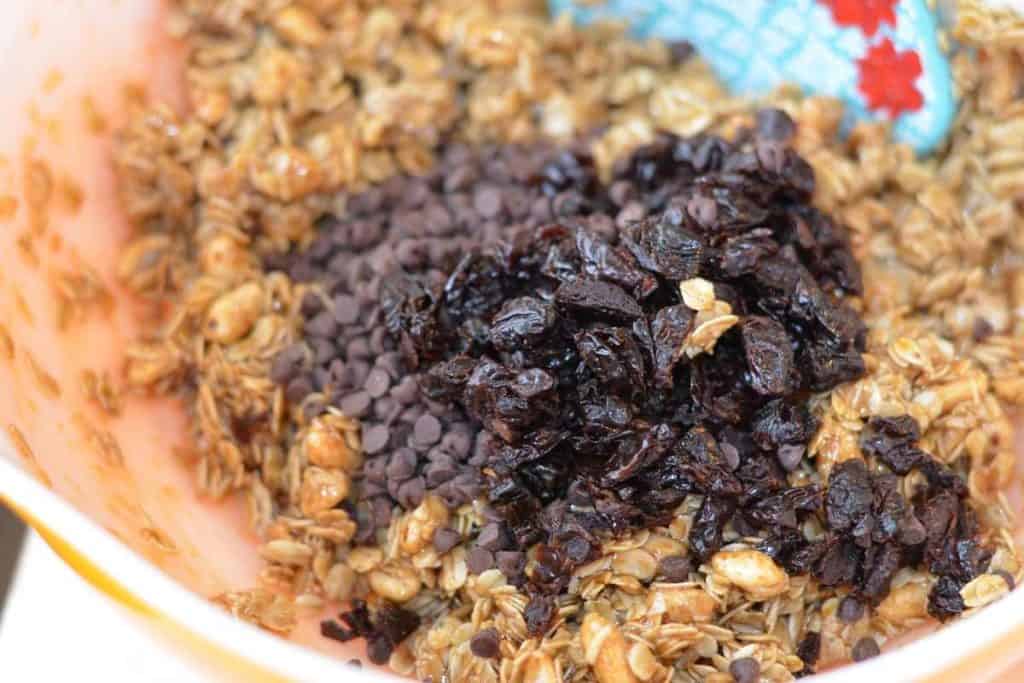
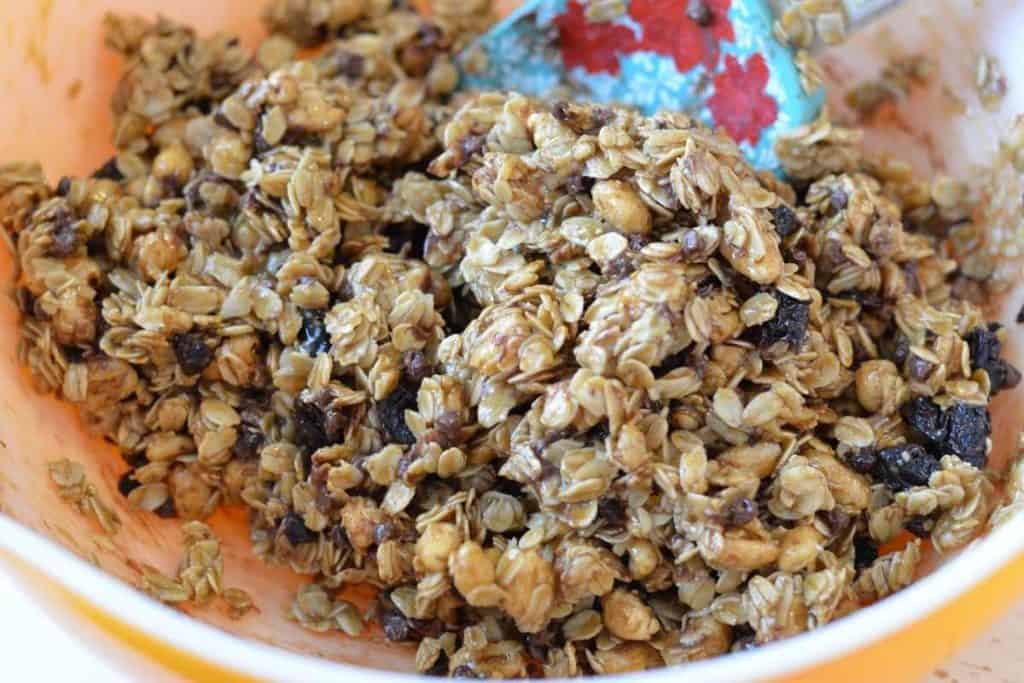
Now add in your mix-ins. Add in the puffed wheat. Next, mix the cherries in. Stirring the granola a bunch will help it cool. Wait until it’s much cooler to add the chocolate chips so that they don’t melt.
Transfer
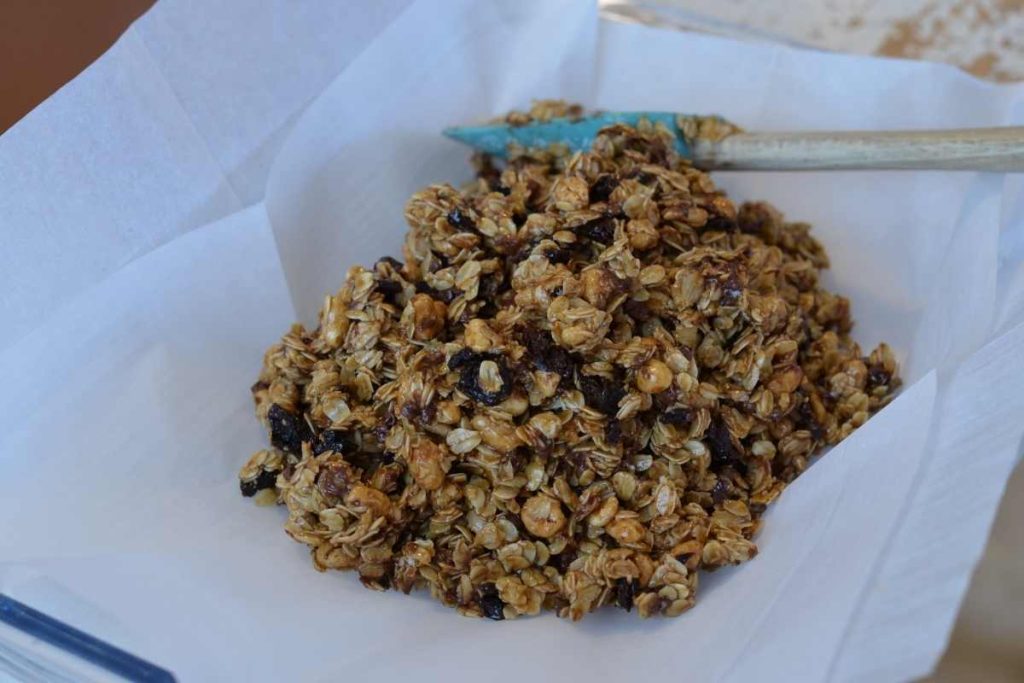
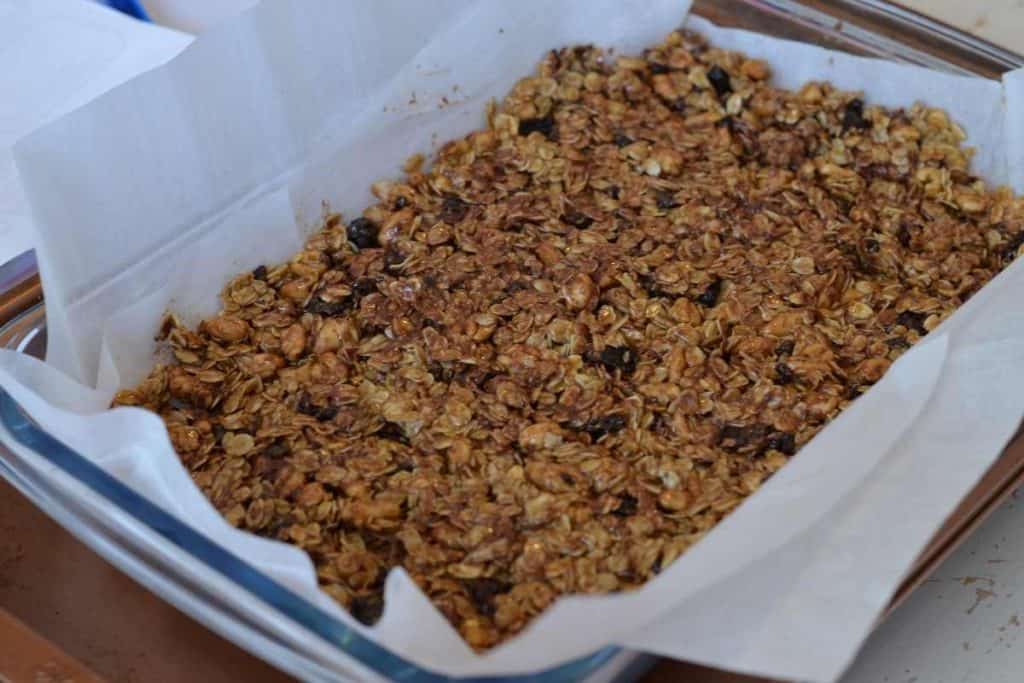
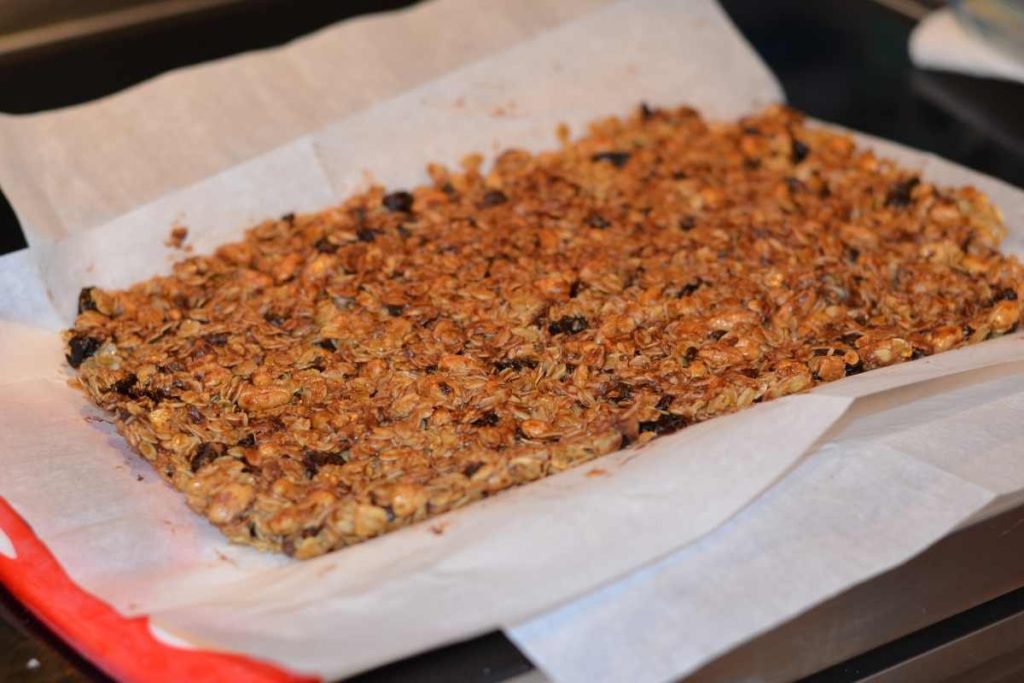
Transfer the granola bar mixture to a parchment-lined 9×13 pan. Press down firmly with a rubber spatula until evenly packed.
Cool
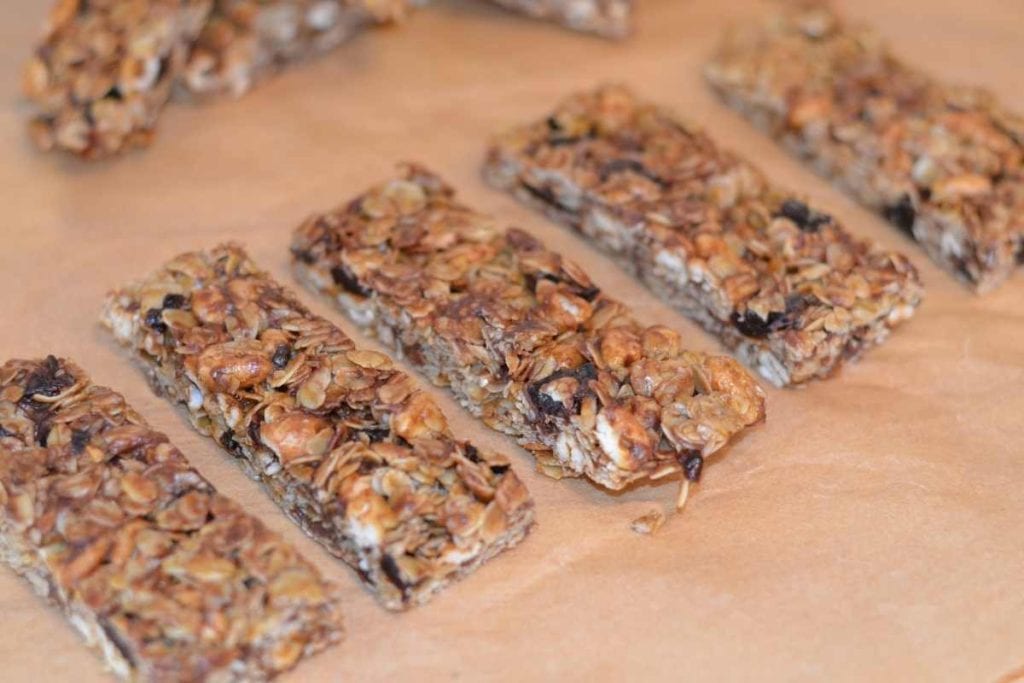
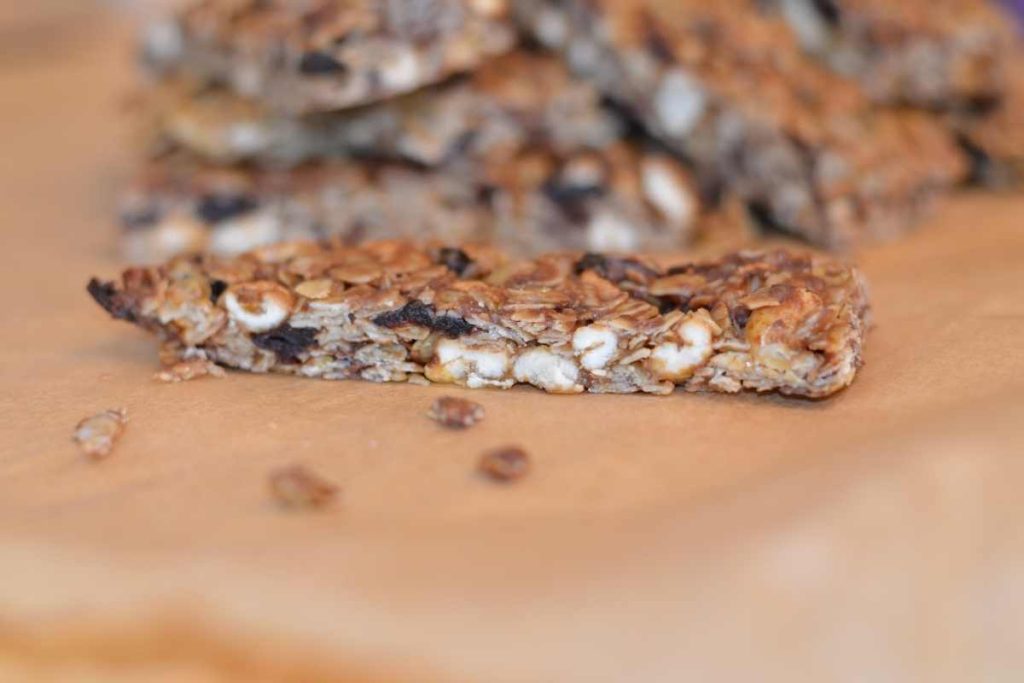
Let the bars cool completely before cutting into squares or bars. I usually leave them for an hour or two. If it’s a really humid day and they aren’t setting, I’ll put them in the fridge for an hour or two to firm up.
Cut
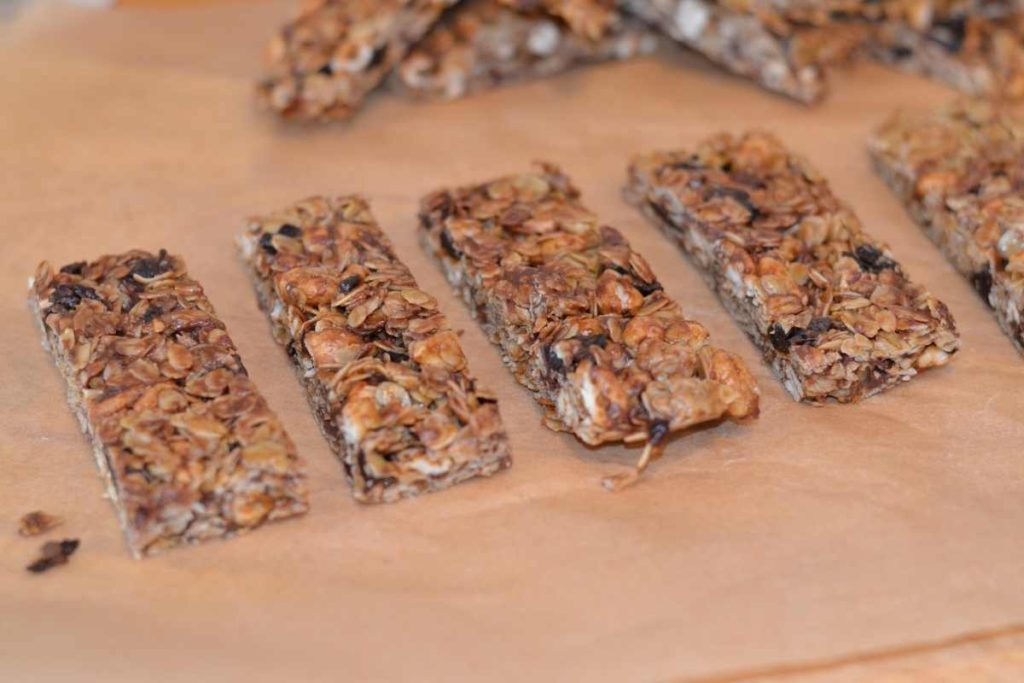
Cut the mixture into squares or bars with a sharp knife.
Store
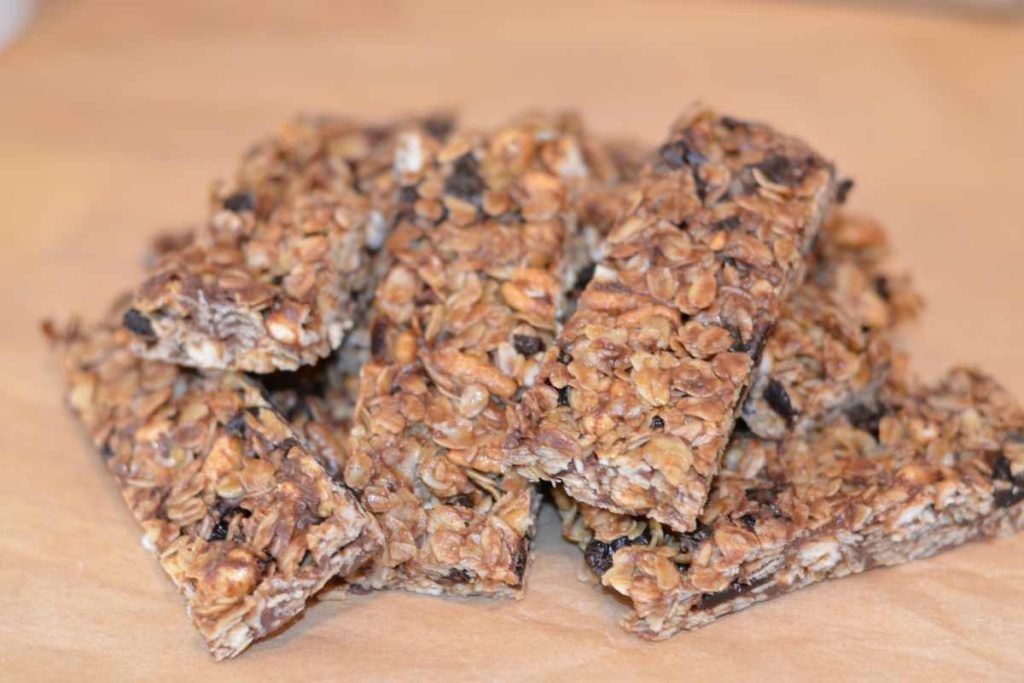
Store the bars in a parchment-lined airtight container, and I like to put layers of parchment in between the stacks so the bars don’t stick together.
Enjoy Your Bars!!
Tips and Notes
- Let the binder brown sugar sauce boil for exactly 30 seconds – this helps everything stick together without turning hard. If you go longer, though, the sauce gets grainy and it’s not nearly as good a texture.
- Stir the dry ingredients well before adding the wet mix to ensure even distribution.
- Press FIRMLY into the pan so your bars hold their shape!
- Lining your pan with parchment paper makes removal and cleanup a breeze.
- For super easy cutting, I like to put the bars in the fridge for about 30 minutes before I cut them up.
Serving Suggestions
These chocolate cherry granola bars are great for:
- Lunchboxes – Wrap individually for an easy lunch treat.
- Afternoon snack – Pair with a glass of milk or smoothie.
- On-the-go breakfast – A perfect quick bite on busy mornings.
- Dessert – A little taste of something sweet in the evenings!
Storage and Reheating Instructions
Storage
- Room Temperature – Store in an airtight container for up to 7 days. You can refrigerate them if you want. I usually stick a few in the fridge because I like them cold! 😀
- Freezer – Wrap individually in plastic wrap and store in a freezer-safe bag or container for up to 3 months.
Thawing from Frozen
- Microwave – For a warm, gooey treat, microwave for 10–15 seconds.
- From Frozen – Let thaw at room temperature for a few hours.
Frequently Asked Questions (FAQs)
Yes, but the texture may be a little softer. Rolled oats give the bars more structure and make them chewy and a little crunchy granola bars.
Yes! As written, they are nut-free – but feel free to add nuts if desired. Sliced almonds, pecans, or peanuts would be awesome in these! Also, watch to make sure no nut butters are added if nuts are an issue!
Be sure to boil the binder ingredients long enough (BUT NOT TOO LONG!) and press the mixture firmly into the pan.
Wrap-Up – Chocolate Chip Cherry Granola Bars
Homemade granola bars are just extra special, and these Cherry Chocolate Chip Granola Bars are a chewy, chocolatey, cherry-packed dream. These are my go-to snack staples at our house. They’re simple, satisfying, and perfect for a snack time or dessert. Make a batch (or two!) and watch them disappear. I love these for a treat in the kids’ lunch box or just a nice sweet treat that’s healthier than a lot of other choices! I can’t wait to hear what you think about this recipe! Let me know! Until then, Happy Granola Bar Making and…. Just Keep Shuffling!
Printable Recipe Card for Chocolate Chip Cherry Granola Bars

Chocolate Chip Cherry Granola Bars
Equipment
- 1 Baking Dish 9×13 size
- 1 saucepan
Ingredients
- 3 cups Rolled oats
- 8 Tablespoons Butter
- 1/2 cup Brown sugar
- 1/3 cup Honey
- 1 teaspoon Vanilla extract
- 1 teaspoon Salt
- 1 cup Puffed wheat
- 3/4 cup Chocolate chips
- 3/4 cup Dried cherries
Instructions
- Prep: Prepare your 9×13 baking dish. For no sticking at all, I like to spray the dish with cooking spray, then lay down the parchment paper, then spray the parchment paper again with cooking spray. Nothing sticks at all if you take this first step in preparation! You need a prepared pan ahead of time so that you are ready when you have a hot granola mixture.
- Combine: In a large mixing bowl, combine the rolled oats and puffed wheat and set the oat mixture aside.
- Mix: In a saucepan over medium heat, combine the wet ingredients: butter, brown sugar, honey, vanilla, and salt. Stir occasionally and bring to a boil.
- Boil: Once boiling, let it cook for 30 seconds while stirring gently. It will be bubbly and foamy.
- Pour: Pour the hot mixture over the dry ingredients in the large bowl and stir everything together until evenly coated. Let that mixture cool for about 60 seconds.
- Add: Now add in your mix-ins, the chocolate chips and the dried cherries. (This way the chocolate chips don’t melt!)
- Transfer: Transfer the granola bar mixture to a parchment-lined 9×13 pan. Press down firmly with a rubber spatula until evenly packed.
- Cool: Let the bars cool completely before cutting into squares or bars. I usually leave them for an hour or two. If it's a really humid day, I put them in the fridge for an hour or so.
- Cut: Cut the mixture into squares or bars with a sharp knife.
Nutrition
Want to remember this recipe? Save it to your favorite Pinterest board!