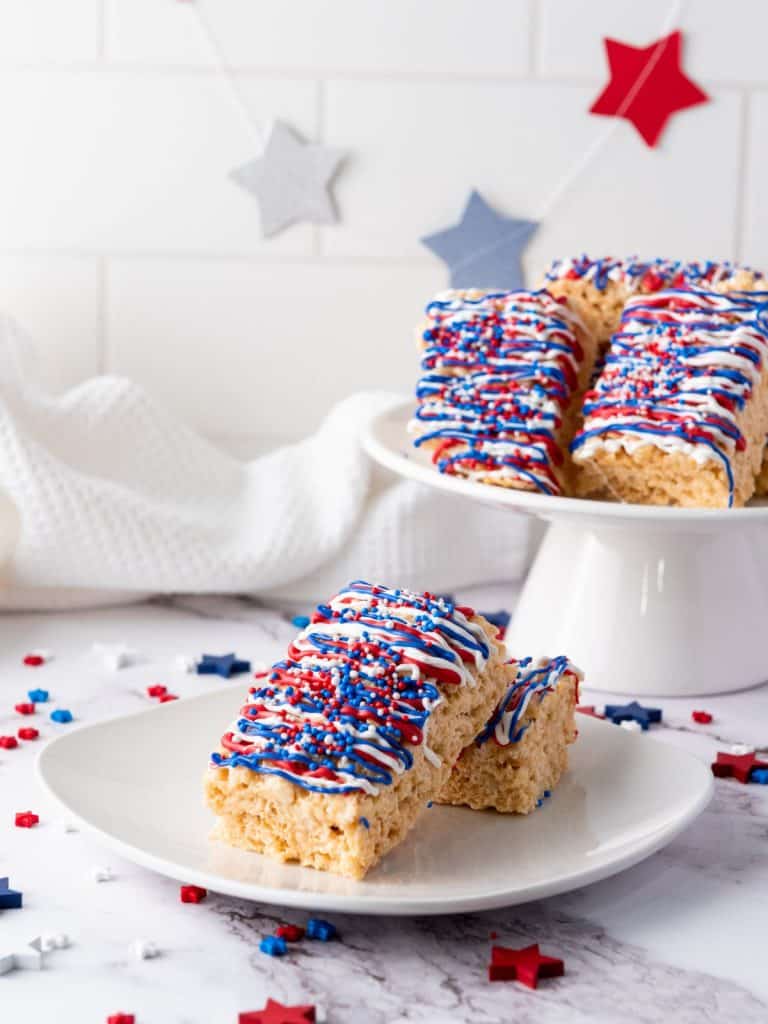
Red, White & Blue 4th of July Rice Krispie Treats
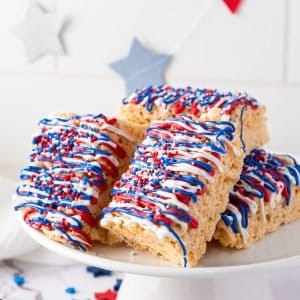
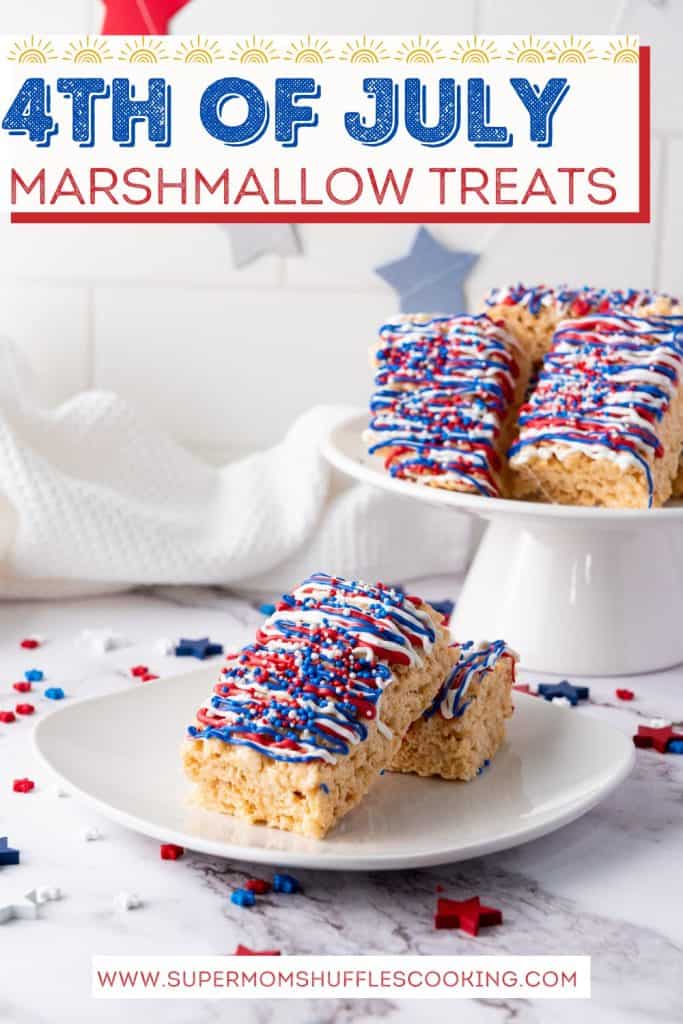
These Red, White & Blue 4th of July Rice Krispie Treats are the perfect no-bake dessert recipe to celebrate the red, white, and blue! They are such a classic treat, and they’re soft, chewy, and sweet with a festive candy-coated twist that makes them perfect for Independence Day, Memorial Day, or any summer get-together.
Want to save this recipe for another time?
I love making regular old original Rice Krispie Marshmallow treats. And for holidays, I love making festive treats for my family! These are always a fun hit. It just takes a little extra time to take the original marshmallow treats up a notch with some patriotic colors and make them a super fun patriotic treat! And, the best part – Not only are they super simple to make, but they’re also super fun to eat—and even more fun to share! These crispy treats are perfect for a backyard barbecue and are always a hit with party guests. I love to take these to July 4th Independence Day celebrations.
If you’re looking for more festive treats and patriotic desserts for your July celebrations, check out my Southern Deviled Eggs, our Apple BBQ Sauce, and our viral Southern Baked Beans with Ground Beef!
Why You’ll Love This Recipe
- Simple ingredients, easy recipe – You only need a handful of pantry staples and some meltable candy.
- Perfect for holidays – These are festive, colorful, and fun to serve for any patriotic holiday. (Use different colors for other holidays! This recipe is great all year round and fits right in with festive desserts!)
- No baking required – No oven needed! Perfect for hot summer days when you want to keep the kitchen cool.
- Fun for kids to help – Let the kids drizzle icing and decorate for a sweet hands-on activity.
- Great make-ahead treat – Make them the day before and they’ll be ready to grab and go.
Ingredients
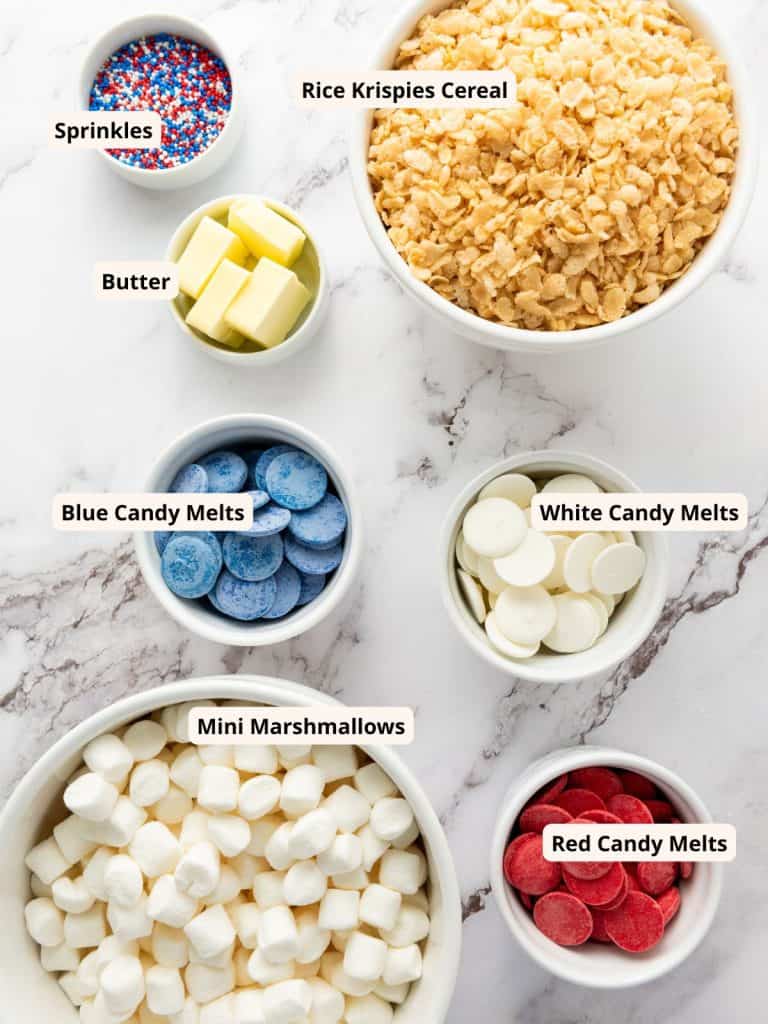
- Rice Krispies cereal – This is the base of your treat, providing the classic crunch we all love. You need 5 cups of rice krispies cereal, so make sure you have most of a box on hand!
- Butter – Melts with the marshmallows to make everything gooey and delicious.
- Mini marshmallows – They melt down to create the perfect sticky mixture for forming the treats.
- Red, white, and blue meltable candies –The melted candy adds such beautiful color and flair! And a little flavor too! You can use candy melts or colored white chocolate.
- Sprinkles – Totally optional but highly encouraged! Use patriotic-themed sprinkles or whatever you have on hand for extra fun.
Substitutions, Modifications, and Additions
These treats are flexible and easy to customize!
Substitutions
- Meltable candies – Don’t have candy melts? Use white chocolate chips with a little coconut oil and food coloring.
- Cereal – You can substitute another crispy rice cereal or try cornflakes for a fun twist in texture. Or Cinnamon Toast Crunch! Or Fruity Pebbles!
Modifications
- Gluten-Free – Make sure your marshmallows and cereal are labeled gluten-free. And double-check the decorations like the sprinkles and candy melts, too!
- Dairy-Free – Use a dairy-free butter alternative and dairy-free white chocolate or candy melts. Most marshmallows are already dairy-free, but definitely double-check your labels.
Additions
- Vanilla extract – Add 1 teaspoon to the marshmallow mix for a little extra flavor depth. It’s such a delicious dessert!
- Mini M&Ms – Press them into the top of the treats before cooling for a colorful surprise. Use red M&M and blue M&M to keep it on theme with festive colors!
- Food Coloring – You can also add in some blue food coloring or red food coloring into the melted marshmallow mix if you’d like your entire batch of treats to be tinted a color!
Equipment
This post contains affiliate links. If you purchase something from those links, I may make a small commission. See our full Disclosure and Disclaimer Policy here.
- 9×13 baking casserole dish – I have this dish and I adore it because it comes with the lid that fits it. No more fooling with aluminum foil or plastic wrap! Plus it keeps the smells of your dish inside the dish and not in your refrigerator as foil and plastic wrap do!
- Santoku Knife – You don’t have to go out and buy a nice knife. BUT, if you were in the market for a knife, this is the one I couldn’t do without, and the one I go for time and time again. It’s wonderfully and beautifully made. I’ve had this knife for over 10 years and it’s my favorite thing in my entire kitchen. You truly do get what you pay for in knives. These are made in Germany, but are widely sold in the United States now. You can go way higher in quality as well, this is just a starting point.
- Cutting Board – I’ve had these for years and I love them. Mine are red! They are the perfect sizes, easy to store, and have a little groove around the edges to stop juices from flowing all over. This is the cutting board I go to time and time again when I’m cooking.
- Parchment Paper Sheets – This is parchment paper that’s already cut for you! And it is the size of a half baking sheet pan, which is absolutely perfect!
- Spatula Set – This is the greatest set ever. Not only does it have several handy spatulas, it has a few tiny ones too, to help you get every single scrape out of jars and containers!
- Airtight Food Storage Containers – These are fantastic. They keep food air-tight and fresh so well!
- Piping Bags – I love these bags for all kinds of things in the kitchen. My favorite use is to fill deviled eggs or stuffed shells!
Step-by-Step Instructions
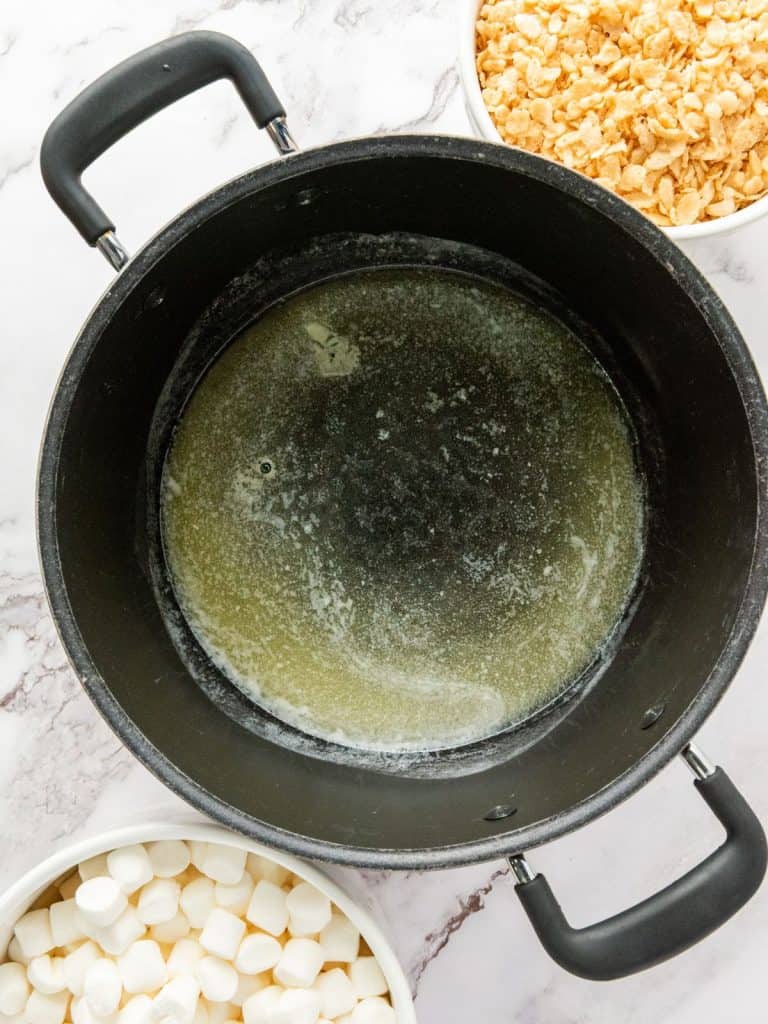
Melt the butter. In a large pot over low heat, melt the butter gently.
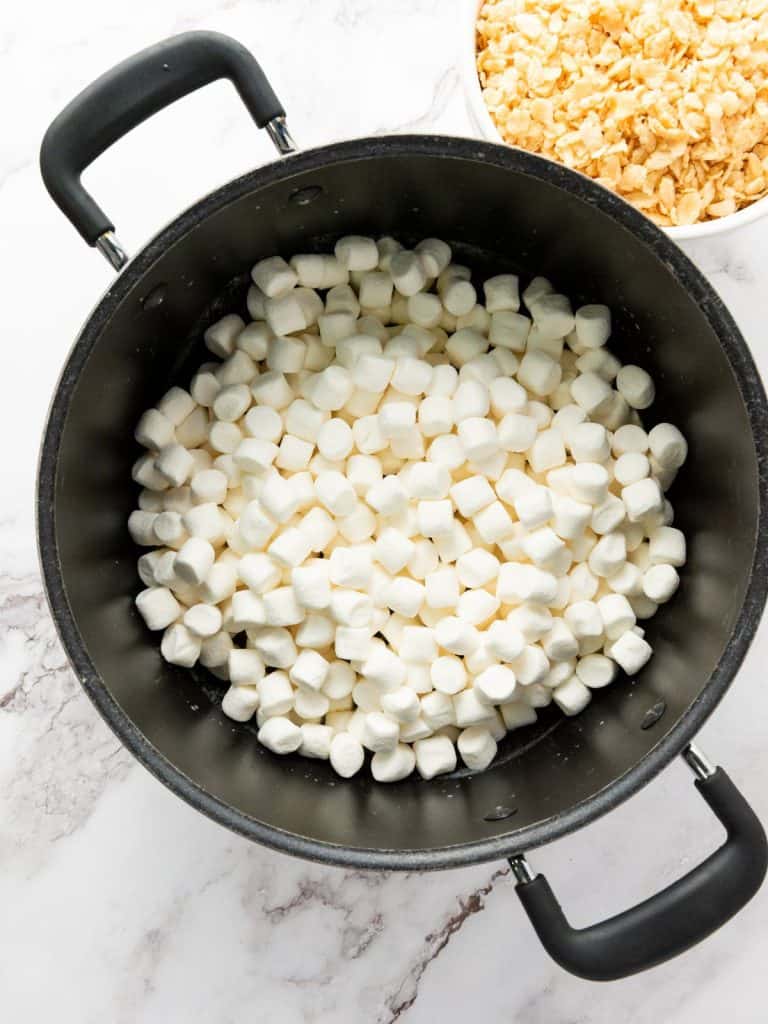
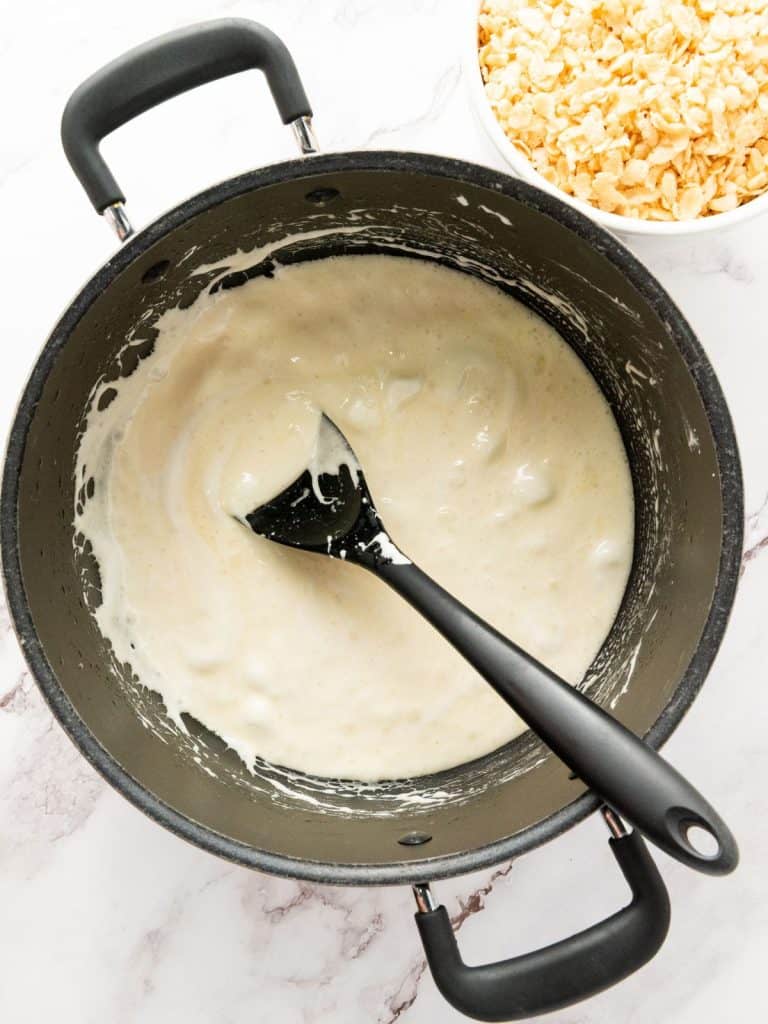
Add marshmallows. Stir in the mini marshmallows and continue stirring until completely melted and smooth.
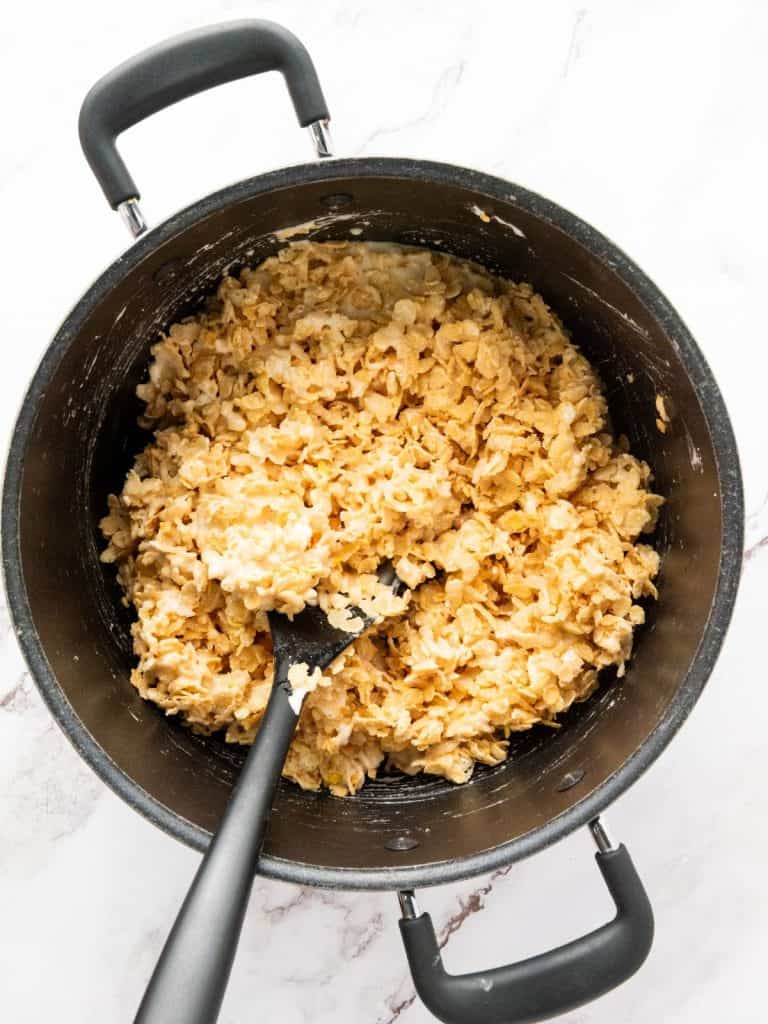
Mix in cereal. Remove from heat and stir in Rice Krispies cereal until everything is evenly coated.
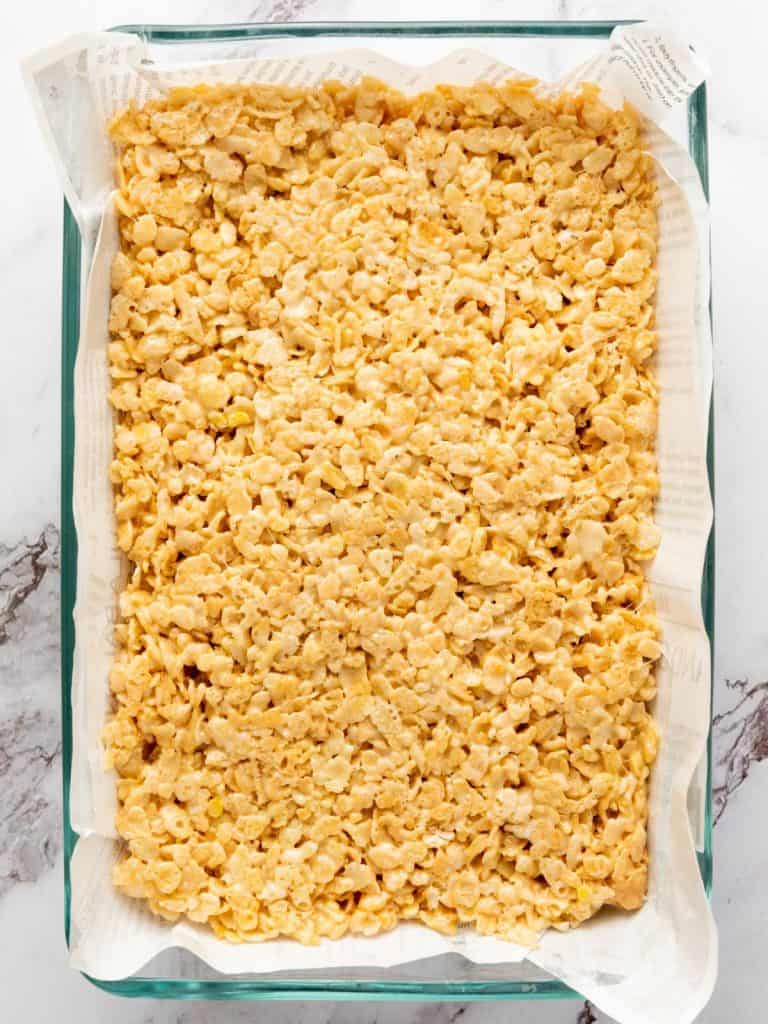
Press into pan. Press the mixture into a parchment-lined or greased 9×13 pan. I do both to ensure no sticking. I grease the pan, put in the parchment, then spray some cooking spray on the parchment for good measure. Spread the treat mix evenly into the pan and press down firmly.
Set. Let sit at room temperature to help the treats set. If you are in a hurry, place in the refrigerator for at least 1 hour to cool and set.
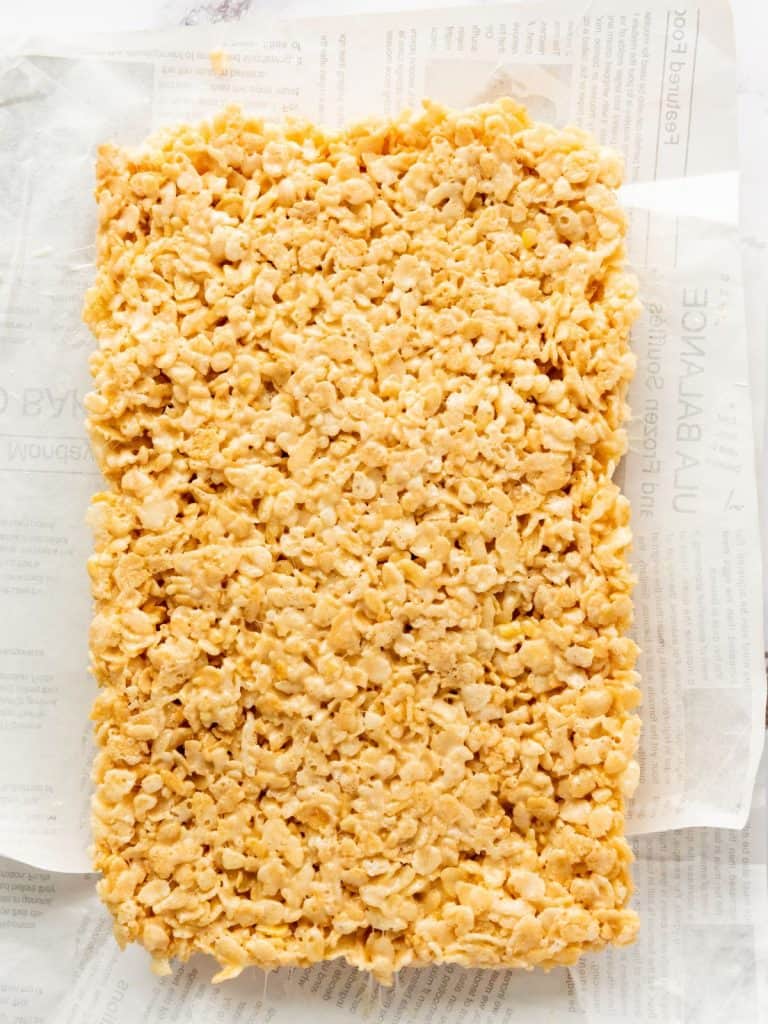
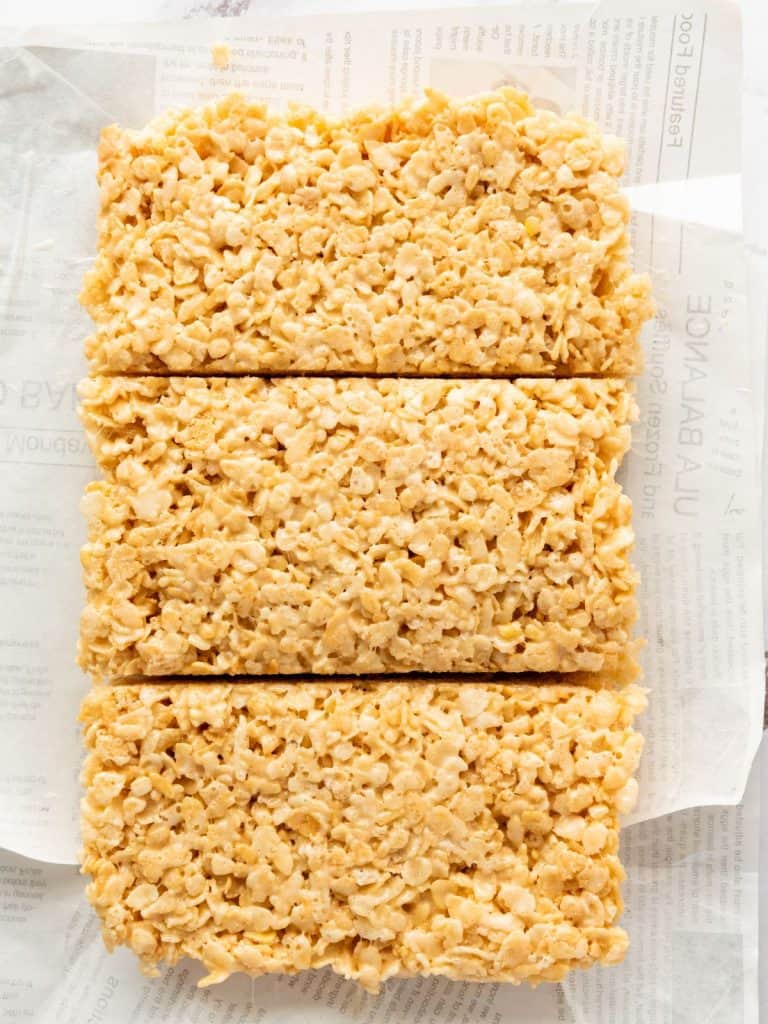
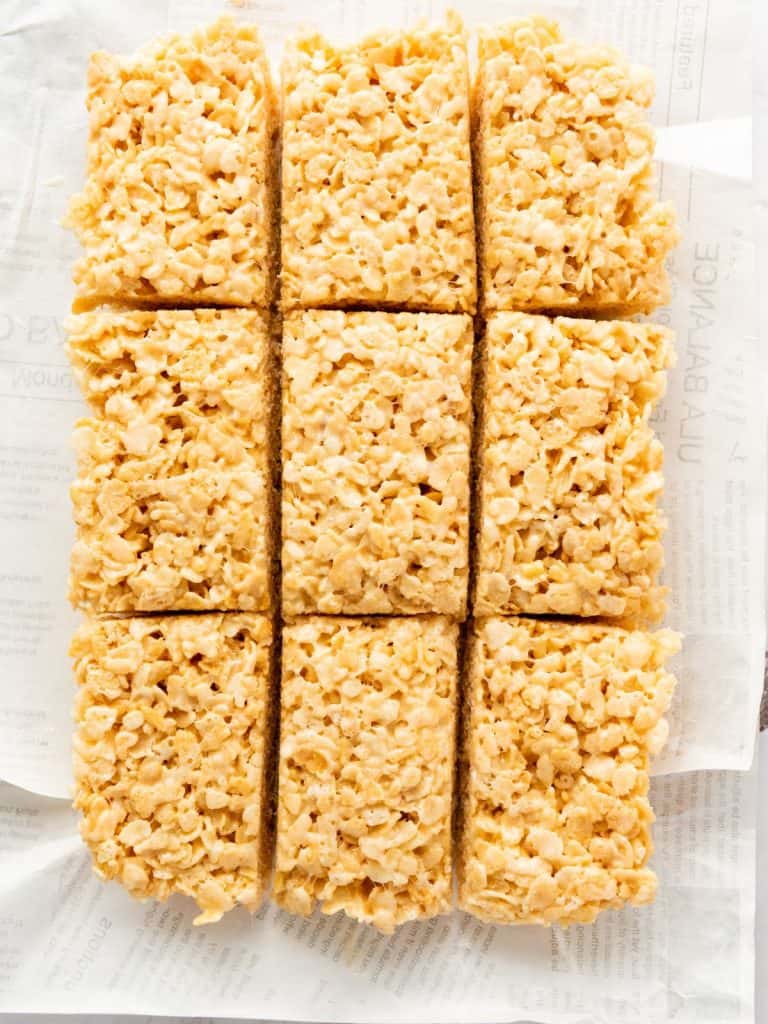
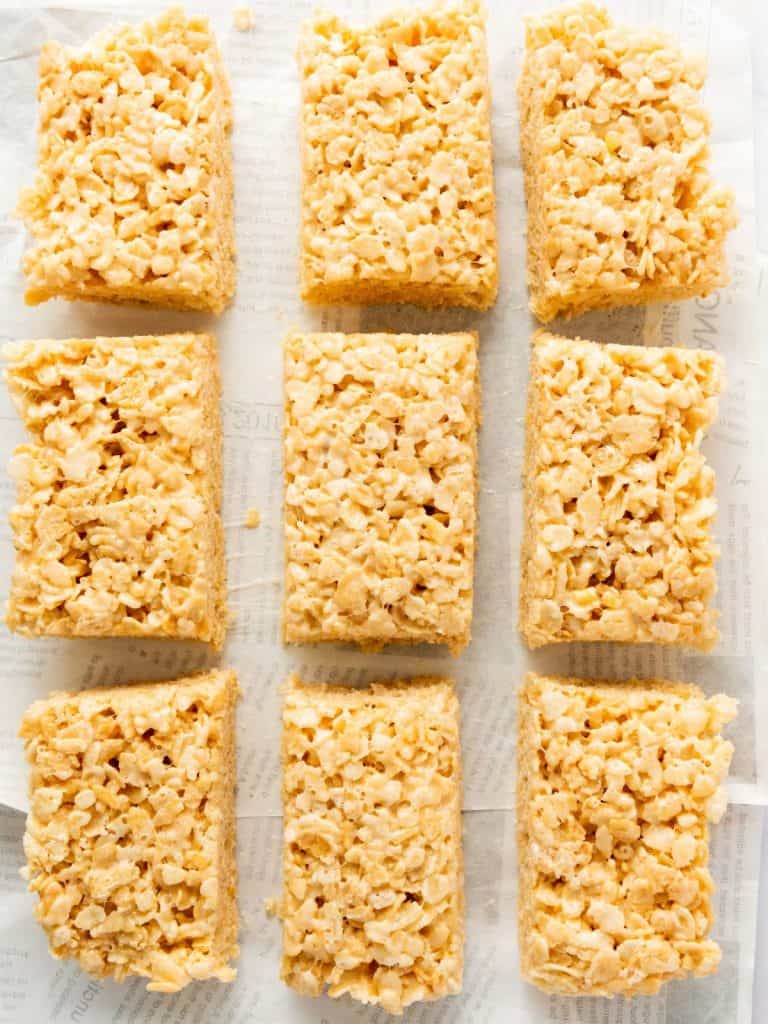
Cut into squares. Lift the treats out of the pan using the parchment edges and cut into squares or rectangles.
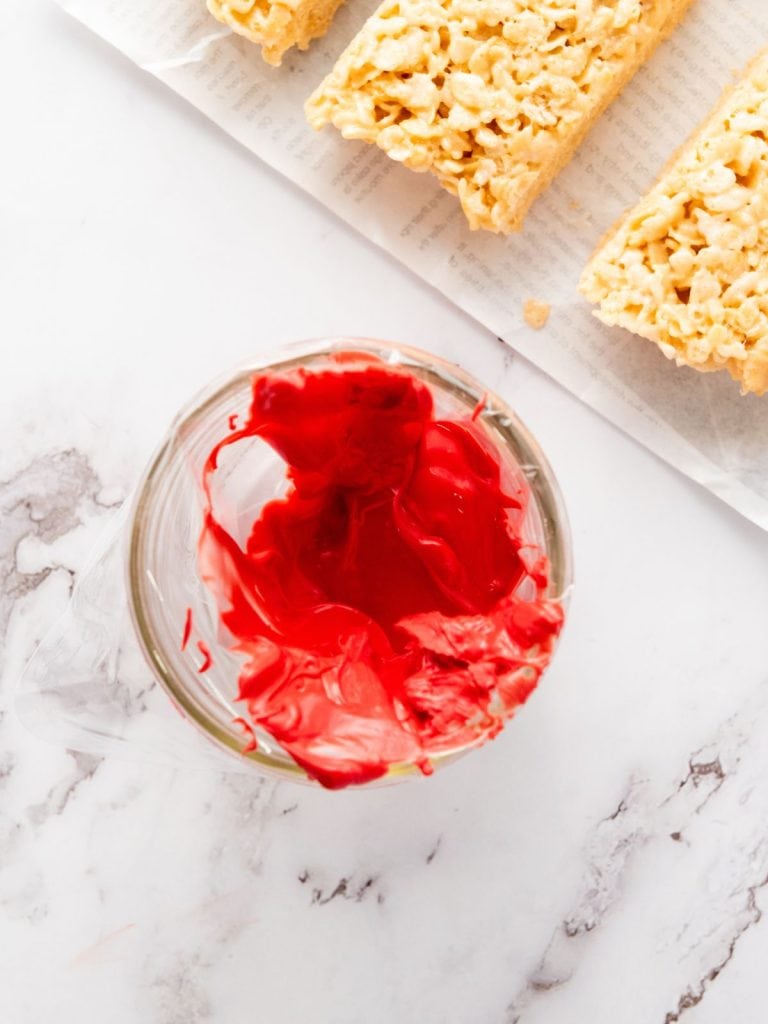
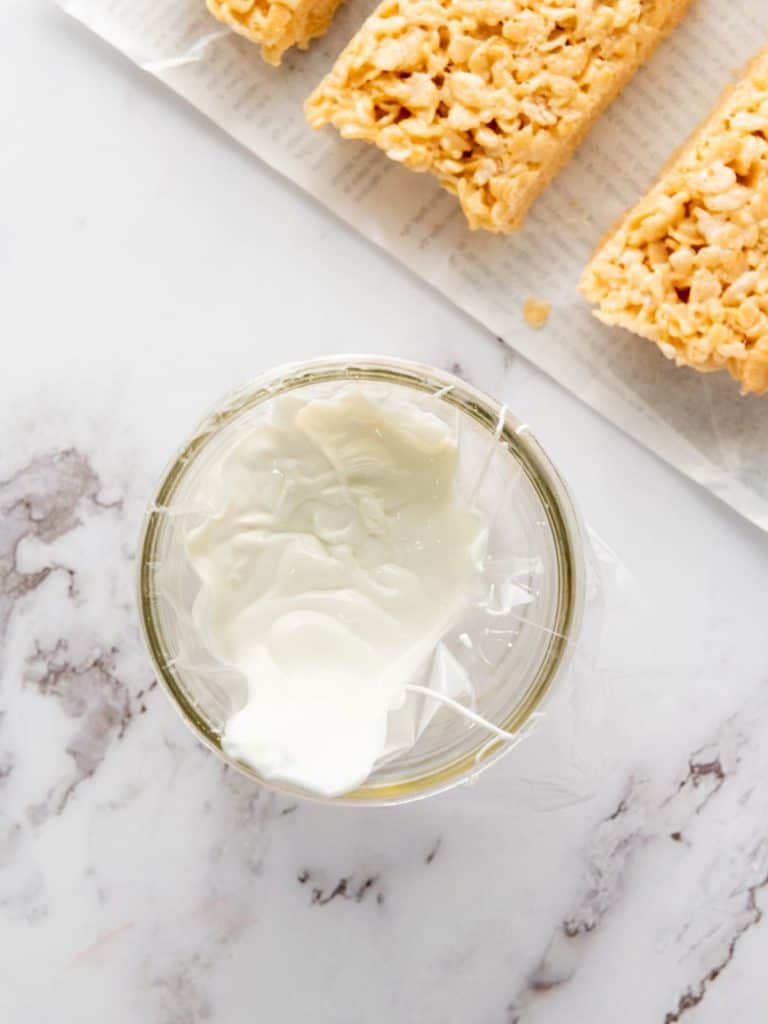
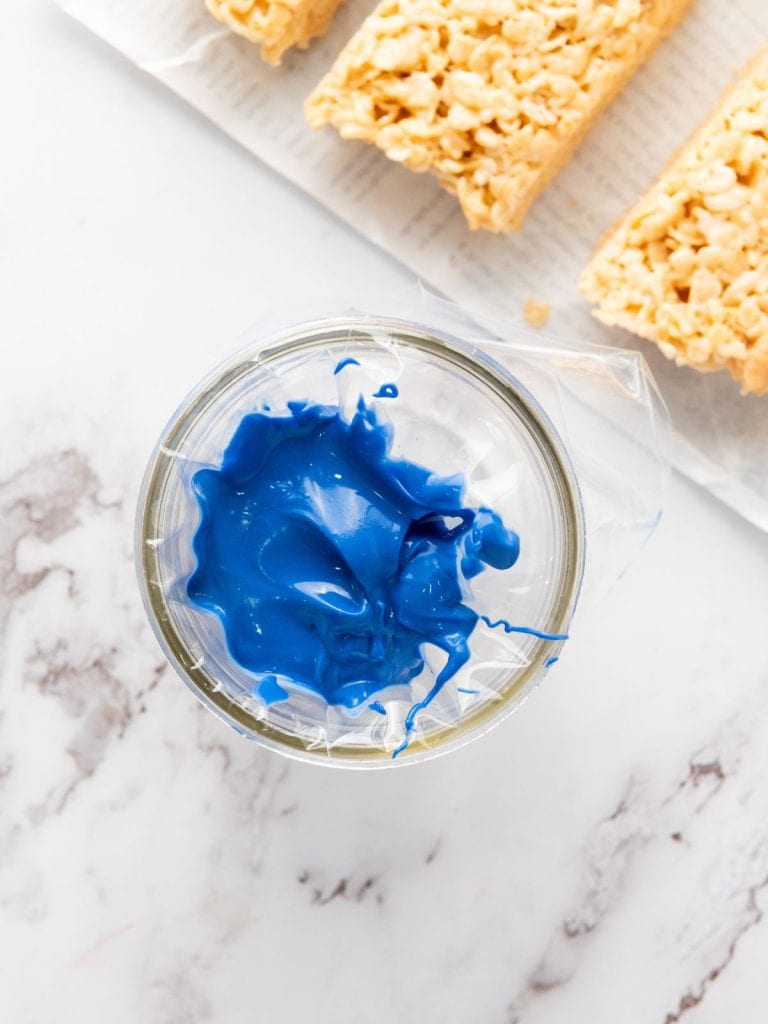
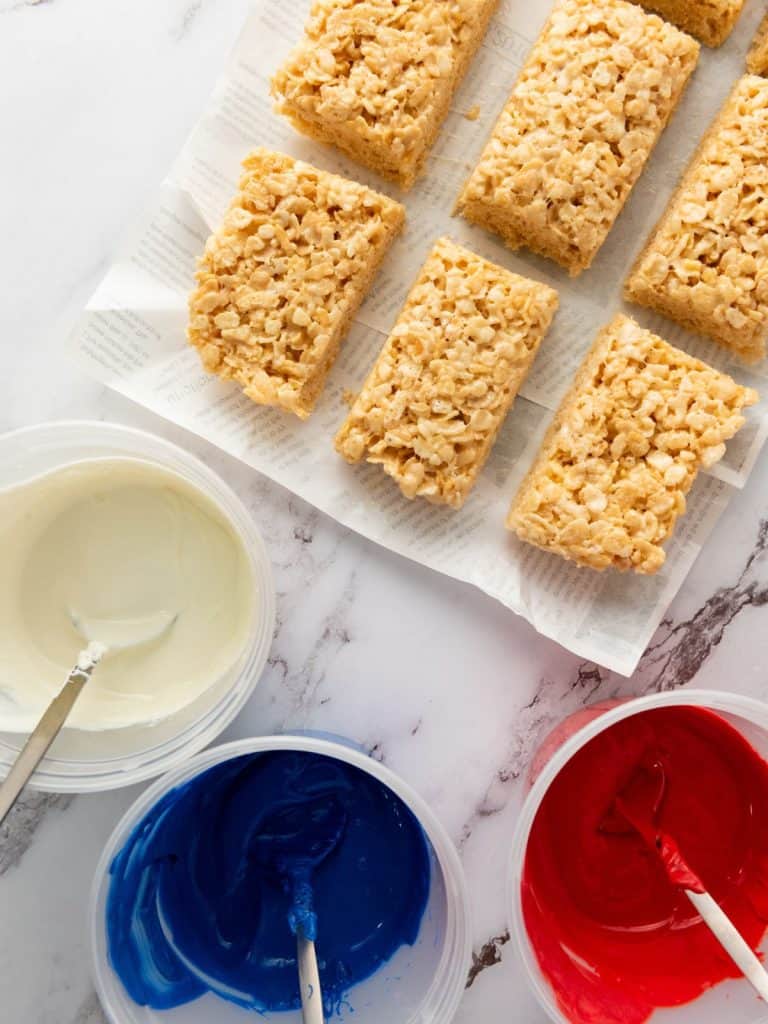
Melt the candies. Melt red, white, and blue candy melts in separate bowls according to package instructions.
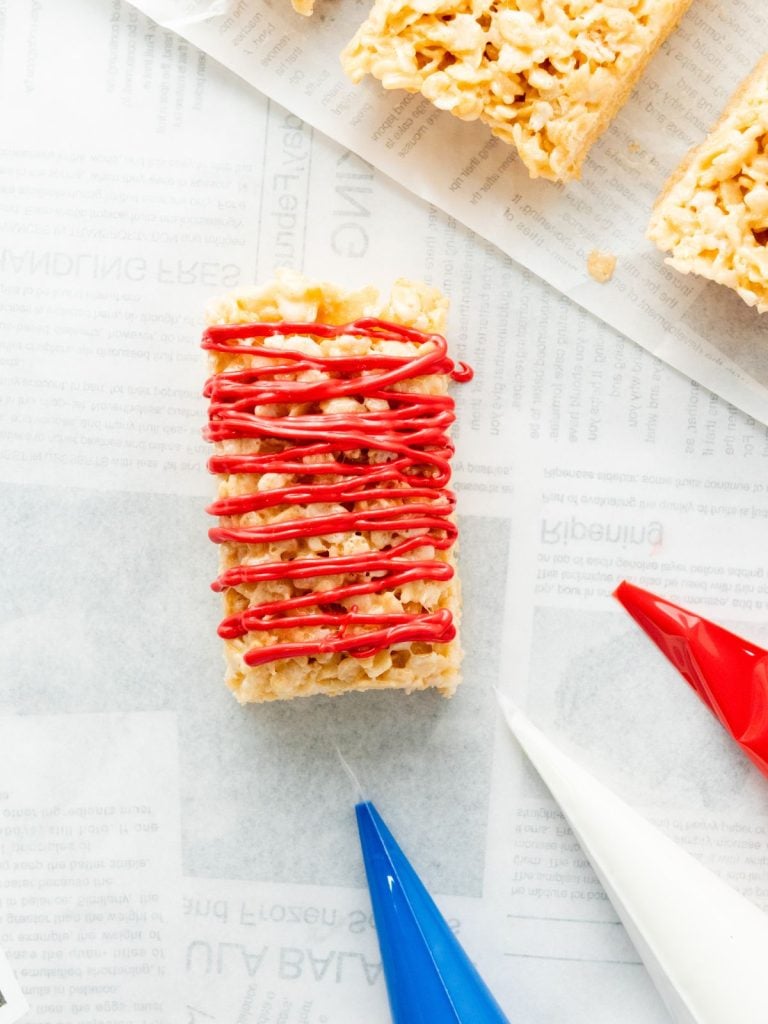
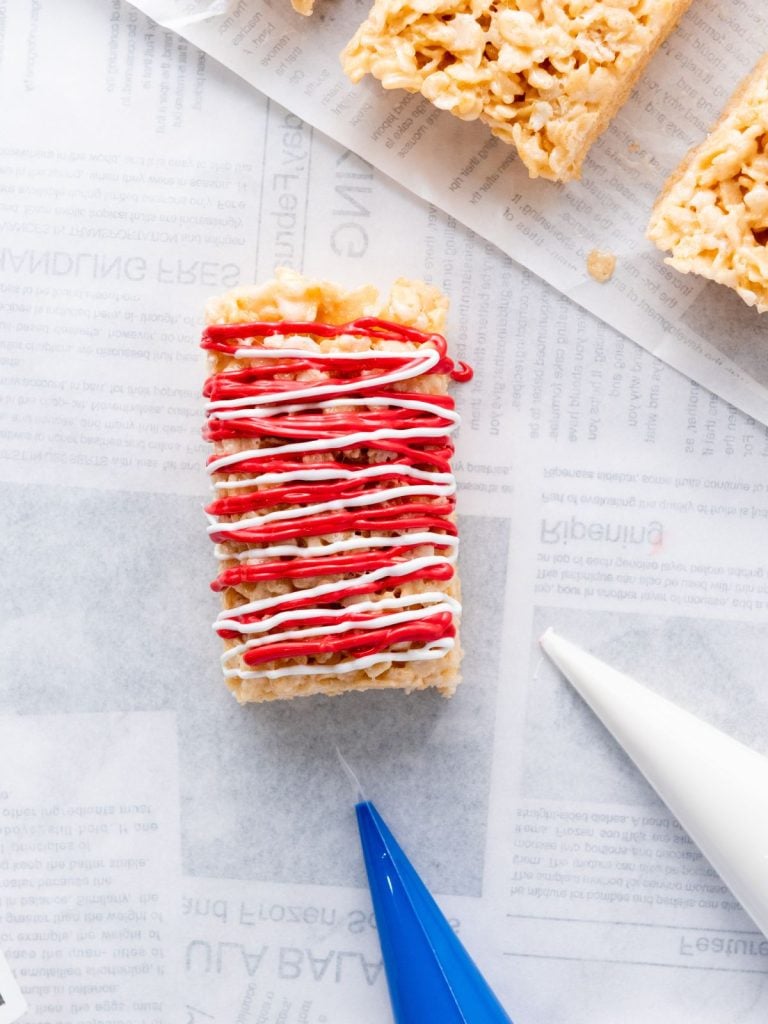
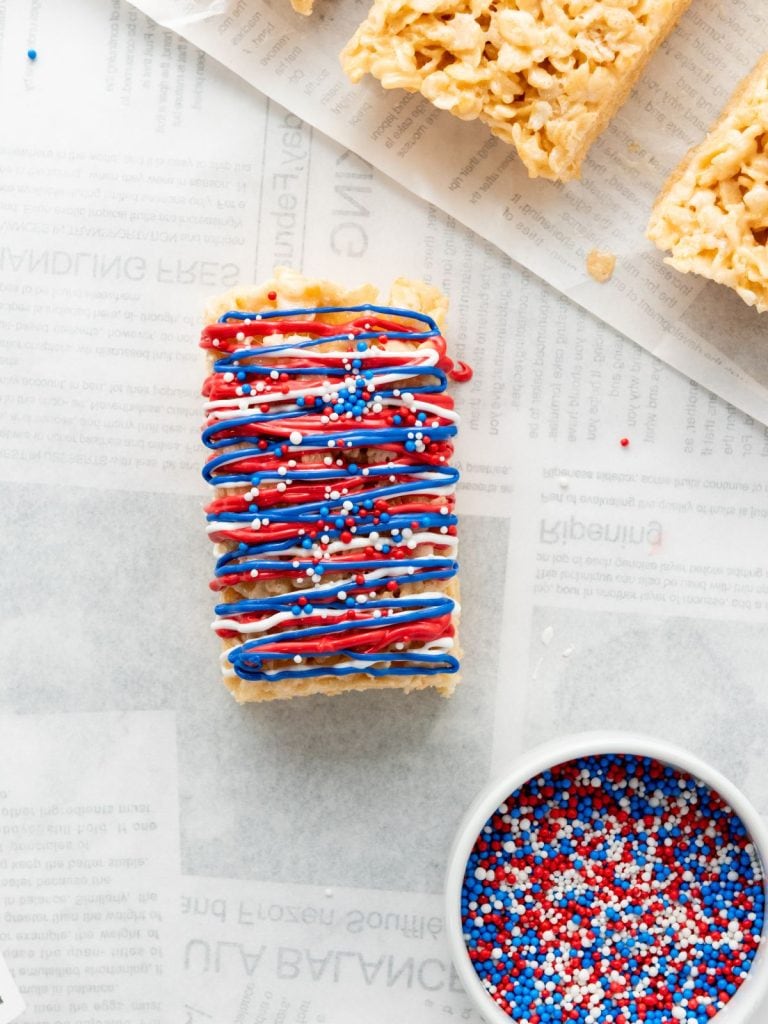
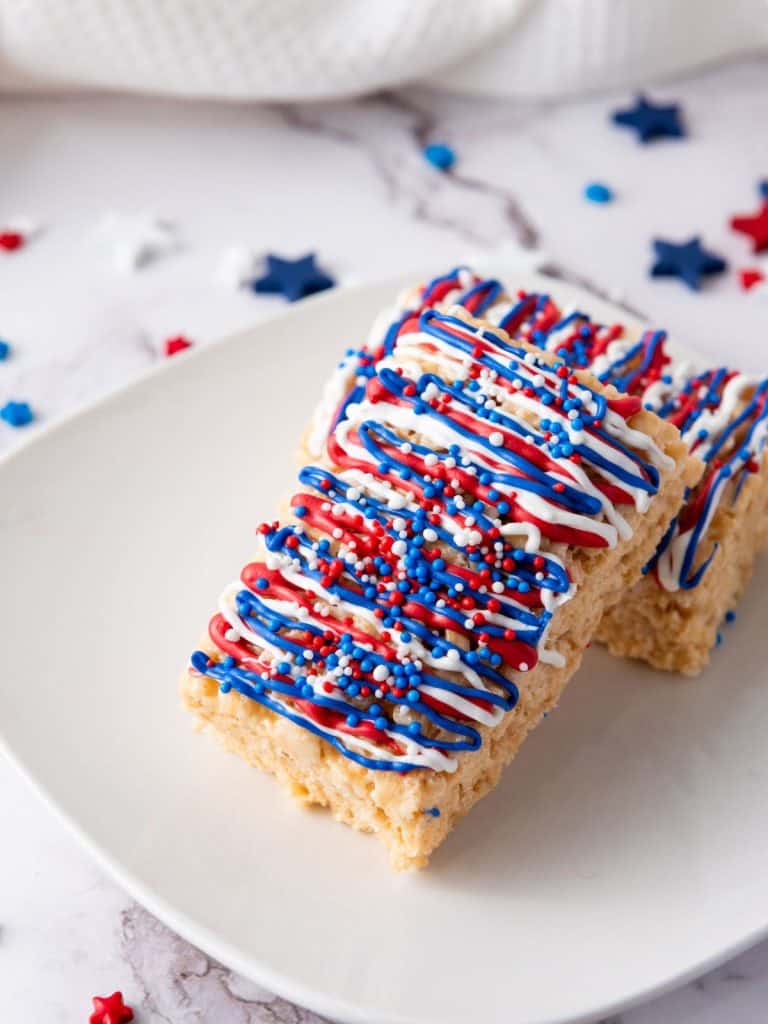
Drizzle and decorate. I dip a spoon into the melted candy melts and then zig zag the dripping melted chocolate across the treats. Then I put on the sprinkles while the drizzle is still wet so the sprinkles stick. You could also dip each square into your candy color of choice and decorate with sprinkles while still wet.
Let cool again. Place the treats on parchment and let the coating set fully—either at room temp or pop them back in the fridge. This will take a few hours. You want the candy melts to fully harden so they don’t stick together when you package them up.
Tips and Notes
Alternative Prep Method:
If you don’t want to heat up the stove, you can also make this in the microwave. Just put the butter and marshmallows into a large microwave-safe bowl, and microwave for about 3 minutes or until melted. I stop and stir after every minute. Then pour the melted marshmallow mixture over your bowl of Rice Krispies, or simply add the Rice Krispies to the bowl of marshmallow and butter mix – whichever is easier!
- Use fresh marshmallows for the best texture—stale ones won’t melt as smoothly. We never have marshmallows around long enough for them to be stale!
- Press firmly into the pan so your treats hold together well when cutting. This is KEY!
- If your hands get sticky, spray them lightly with cooking spray before pressing the mix into the pan. You can also wipe butter on your hands too!
- Don’t overheat the marshmallows—it can make the treats hard.
Serving Suggestions
These Patriotic Rice Krispies Treats are perfect for:
- Backyard BBQs
- Picnics and potlucks
- 4th of July parties
- School or neighborhood celebrations
Serve them on a festive tray or wrap them individually in cellophane for party favors!
Storage and Reheating Instructions
Storage
- Room Temperature – Store in an airtight container for up to 3-4 days. If you have to leave them in the baking pan, cover tightly with plastic wrap.
- Refrigerator – If you prefer them chilled, store in the fridge in a sealed container.
- Freezer – You can freeze undipped treats for up to 1 month. Thaw and then dip/decorate as needed.
Reheating
- These don’t require reheating! But if you’d like to soften them slightly, a few seconds in the microwave will do the trick. And it’s oh soooo good!
Frequently Asked Questions (FAQs)
Yes! Just measure out 10 oz and chop them a bit for faster melting.
Absolutely. They store well for several days and are perfect to make a day or two in advance.
Sure! The base treat is delicious all on its own. You can drizzle with colored icing or skip decoration altogether. Melted white chocolate is also yummy on these treats. You can mix the patriotic sprinkles into the cereal mix, too. I will mix the warm marshmallow buttery goodness with the Rice Krispies, and then give it just a beat to cool a smidge, then add in the sprinkles so that every bite has a sprinkle!
Wrap-Up – Red, White & Blue 4th of July Rice Krispie Treats
These Patriotic Rice Krispy Treats are festive, fun, and super simple to whip up. Whether you’re celebrating Independence Day, Memorial Day, or just love red, white, and blue—these sweet treats are a colorful crowd-pleaser. Make them with the kids, bring them to a party and patriotic gathering, or snack on one just because. You can’t go wrong! It’s such a simple no-bake treat that doesn’t require a ton of mess and muss and fuss, and that makes it a superhero recipe to me! Save this recipe for patriotic holidays and all the other holidays, too! Happy Marshmallow Melting! And as always… Just Keep Shuffling!
Printable Recipe Card – Red, White & Blue 4th of July Rice Krispie Treats
Red, White & Blue 4th of July Rice Krispie Treats
Ingredients
- 5 cups Rice Krispies cereal
- ¼ cup butter
- 4 cups mini marshmallows about 10 ounces
- ½ cup red meltable candies
- ½ cup white meltable candies
- ½ cup blue meltable candies
- ½ cup Sprinkles As desired and can be any type of your choosing
Instructions
Preparing the Base Treat:
- Melt the butter in a large pot over low heat. Add the mini marshmallows, stirring until completely melted and the mixture is smooth.
- Remove the pot from heat and immediately mix in the Rice Krispies cereal until well coated.
- Press the mixture firmly into a 9×13 inch baking pan lined with parchment paper or lightly greased. Flatten it evenly across the pan.
- Let the Rice Krispie treat cool and set in the refrigerator for at least one hour.
- Cutting the Treats: Once set, lift the whole treat out of the pan using the edges of the parchment paper. Place it on a cutting board and cut into squares or rectangles to your preferred size.
Decorating:
- Melting the Candies: Separately melt the red, white, and blue meltable candies according to the package instructions. Use bowls deep enough for easy dipping.
- Drizzle the candy melts over the marshmallow squares, one color at a time. Drizzling back and forth to create lines across the treats.
- Place the treats onto a sheet of parchment paper. While the candy coating is still wet, sprinkle with your chosen sprinkles for a decorative touch.
- Allow the treats to set completely at room temperature, or in the refrigerator for a faster setting.
Nutrition
Want to remember this? Save this recipe to your favorite Pinterest board!
Want to get our weekly newsletter?
We’ve got all kinds of recipe ideas and suggestions!